¶ UXWizz (UserTrack): Website Analytics, Heatmaps, Screen Recordings.
UXWizz is a self-hosted web analytic tool. UXWizz offers heatmaps, screen recordings, website stats, user location tracking, and more! An important thing to note is that UXWizz requires a license after its trial period of 7 days. You can learn more about UXWizz from the links below:
Usertrack does not have a GitHub, or Docker Hub. Instead, we will be building the image locally using Docker.
¶ Introduction
UXWizz is a great tool to gather analytics about how people are using your website. This really helps get a sense of what you need to improve on and can help you diagnose issues people are having. You can view someone's failed order attempt on your website while concealing their card information, you can see how much a button is being clicked thanks to heatmaps which tells you where on your site is the most clicked, and you can see where people are finding your website from. UXWizz is great, although it is licensed! You can find UXWizz's pricing here.
We will be covering how to run UXWizz using Docker, Docker-compose, Portainer, and Nginx Proxy Manager. We have an advanced course on how to do this at TrueFreedomTech.com covering multiple configurations and separating data from compute, deploying with git, and more.
¶ Overview
We are going to assume you already have a working server with Docker, Portainer, and Nginx Proxy Manager running. We will go over the Dockerfile for UXWizz, the compose for the stack, and configuring Nginx-Proxy-Manager.
¶ Dockerfiles
The first step to getting UXWizz running will be creating the image.
If you are unfamiliar with creating docker images please visit Dockerfile best practices and continue through the whole “Build images” Section. If you would like to learn how we build images please visit TrueFreedomTech.com and check out our course on Dockerfile. This wiki should still be enough to get you up and running if you have a little bit of experience already, advanced users should be able to take what they learn here and adapt it to their own needs.
¶ UXWizz
Step 1: Download files from the True Freedom Tech Dockerfile Repo.
Step 2: Open a terminal and cd into the folder containing the Dockerfile.
(UserTrack is now known as UXWizz, name your images however you want but from here on our code will use usertrack. the zip file from the web is still using usertrack (Last Updated June 10th, 2022)
Step 3: Run docker build . -t <your-docker-hub-user>/usertrack:latest You do not have to use your docker hub user but if you want to push this image to docker hub it is a good idea to do so.
Step 4 (optional): Push to docker hub docker push <your-docker-hub-user>/usertrack:latest.
¶ Dockerfile
FROM ubuntu:latest
RUN apt update -y && apt upgrade -y && \
    DEBIAN_FRONTEND="noninteractive" apt install -y rsync apache2 apache2-utils curl php php-zip libapache2-mod-php php-mysql mariadb-client tzdata
ENV TZ="America/New_York"
RUN cd /var/www/html/ && rm -rf /var/www/html/*
RUN curl -Lo userTrack.zip https://www.usertrack.net/trial-download
RUN apt install unzip
RUN unzip userTrack.zip
RUN rm userTrack.zip
RUN cd /userTrack && rsync -atvP * /var/www/html && cd /var/www/html && rm -rf /userTrack
RUN chmod 0666 /var/www/html/server/dbconfig.php
COPY /apache2.conf /etc/apache2/apache2.conf
COPY /mpm_prefork.conf /etc/apache2/mods-enables/mpm_prefork.conf
RUN a2dismod mpm_event mpm_worker && a2enmod mpm_prefork && a2enmod rewrite
WORKDIR /var/www/html
EXPOSE 80
RUN service apache2 restart
CMD ["/usr/sbin/apachectl", "-D", "FOREGROUND"]
¶ Docker-Compose
The next step is our Docker-Compose. We will be deploying this with Portainer.
If you are not familiar with Portainer or Docker-Compose here are the official docs:
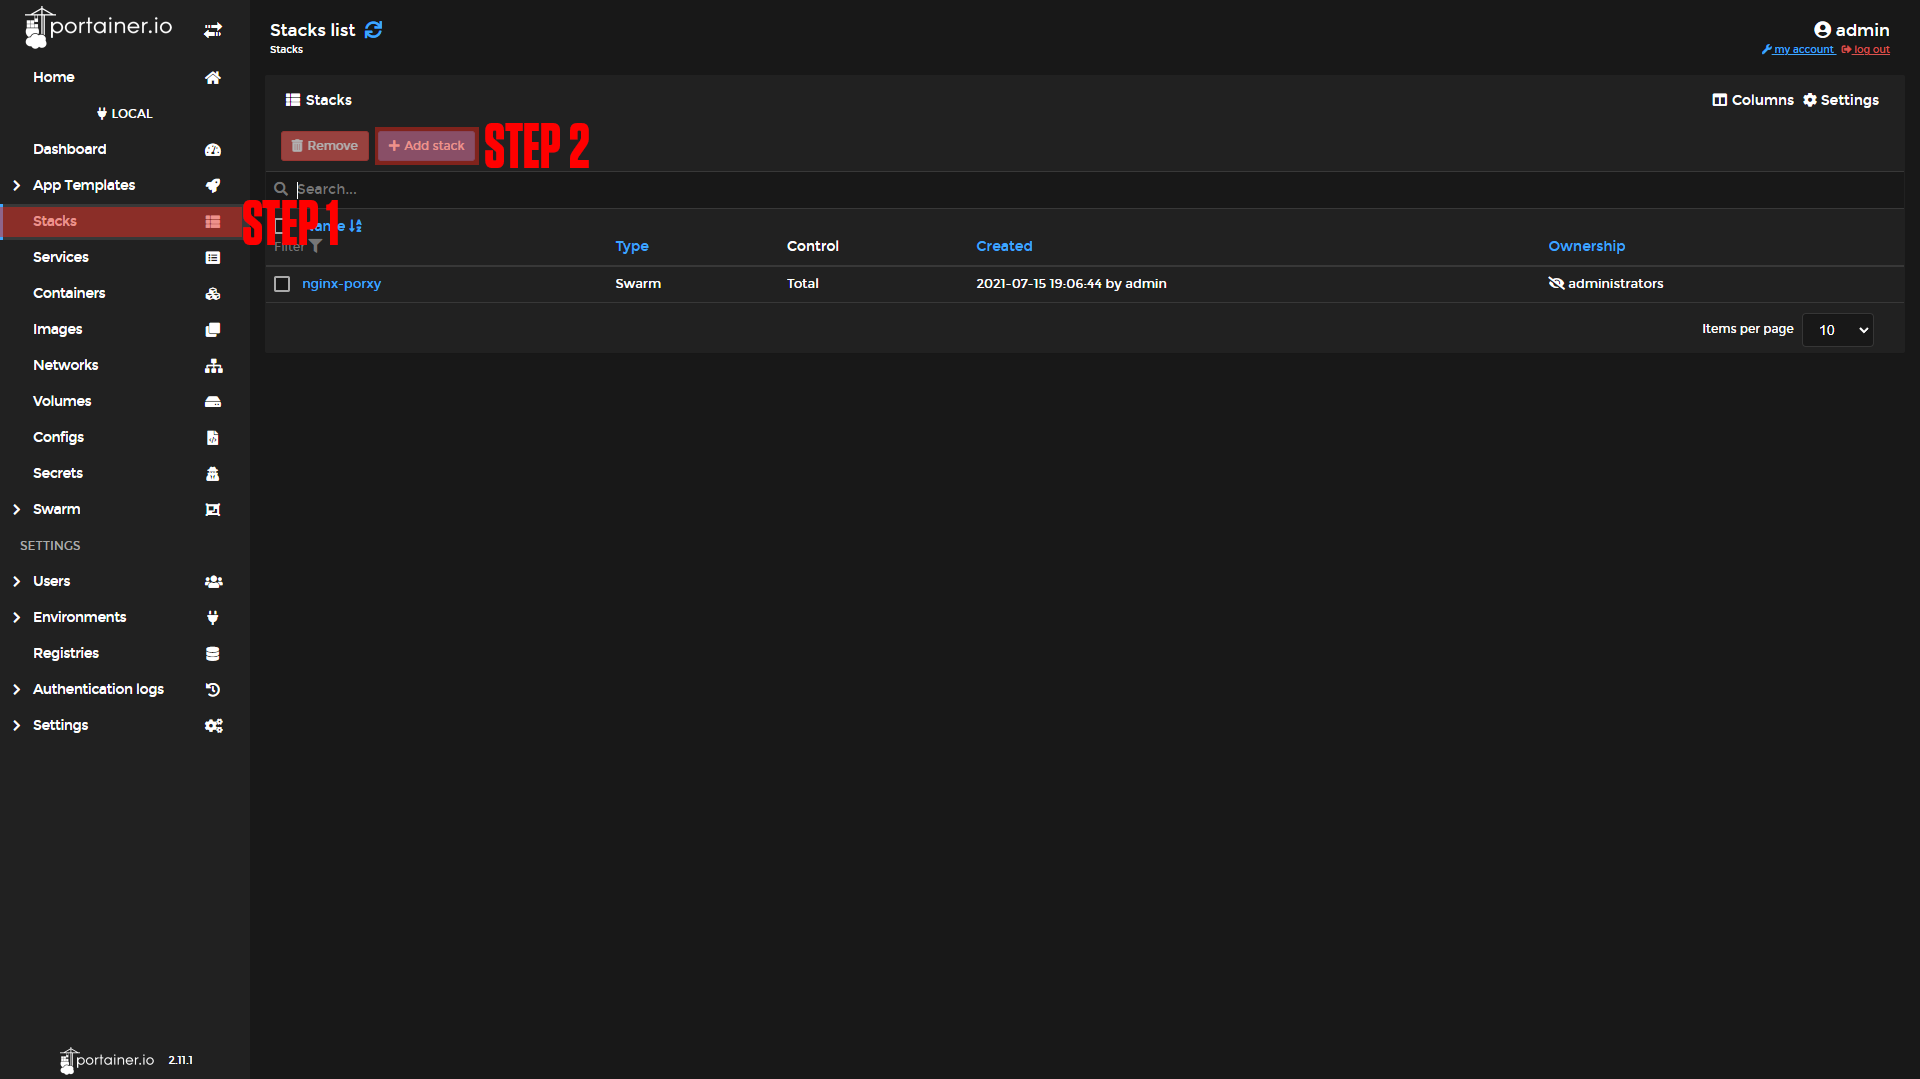
Step 1: Go to Stacks.
Step 2: Click Add Stack.
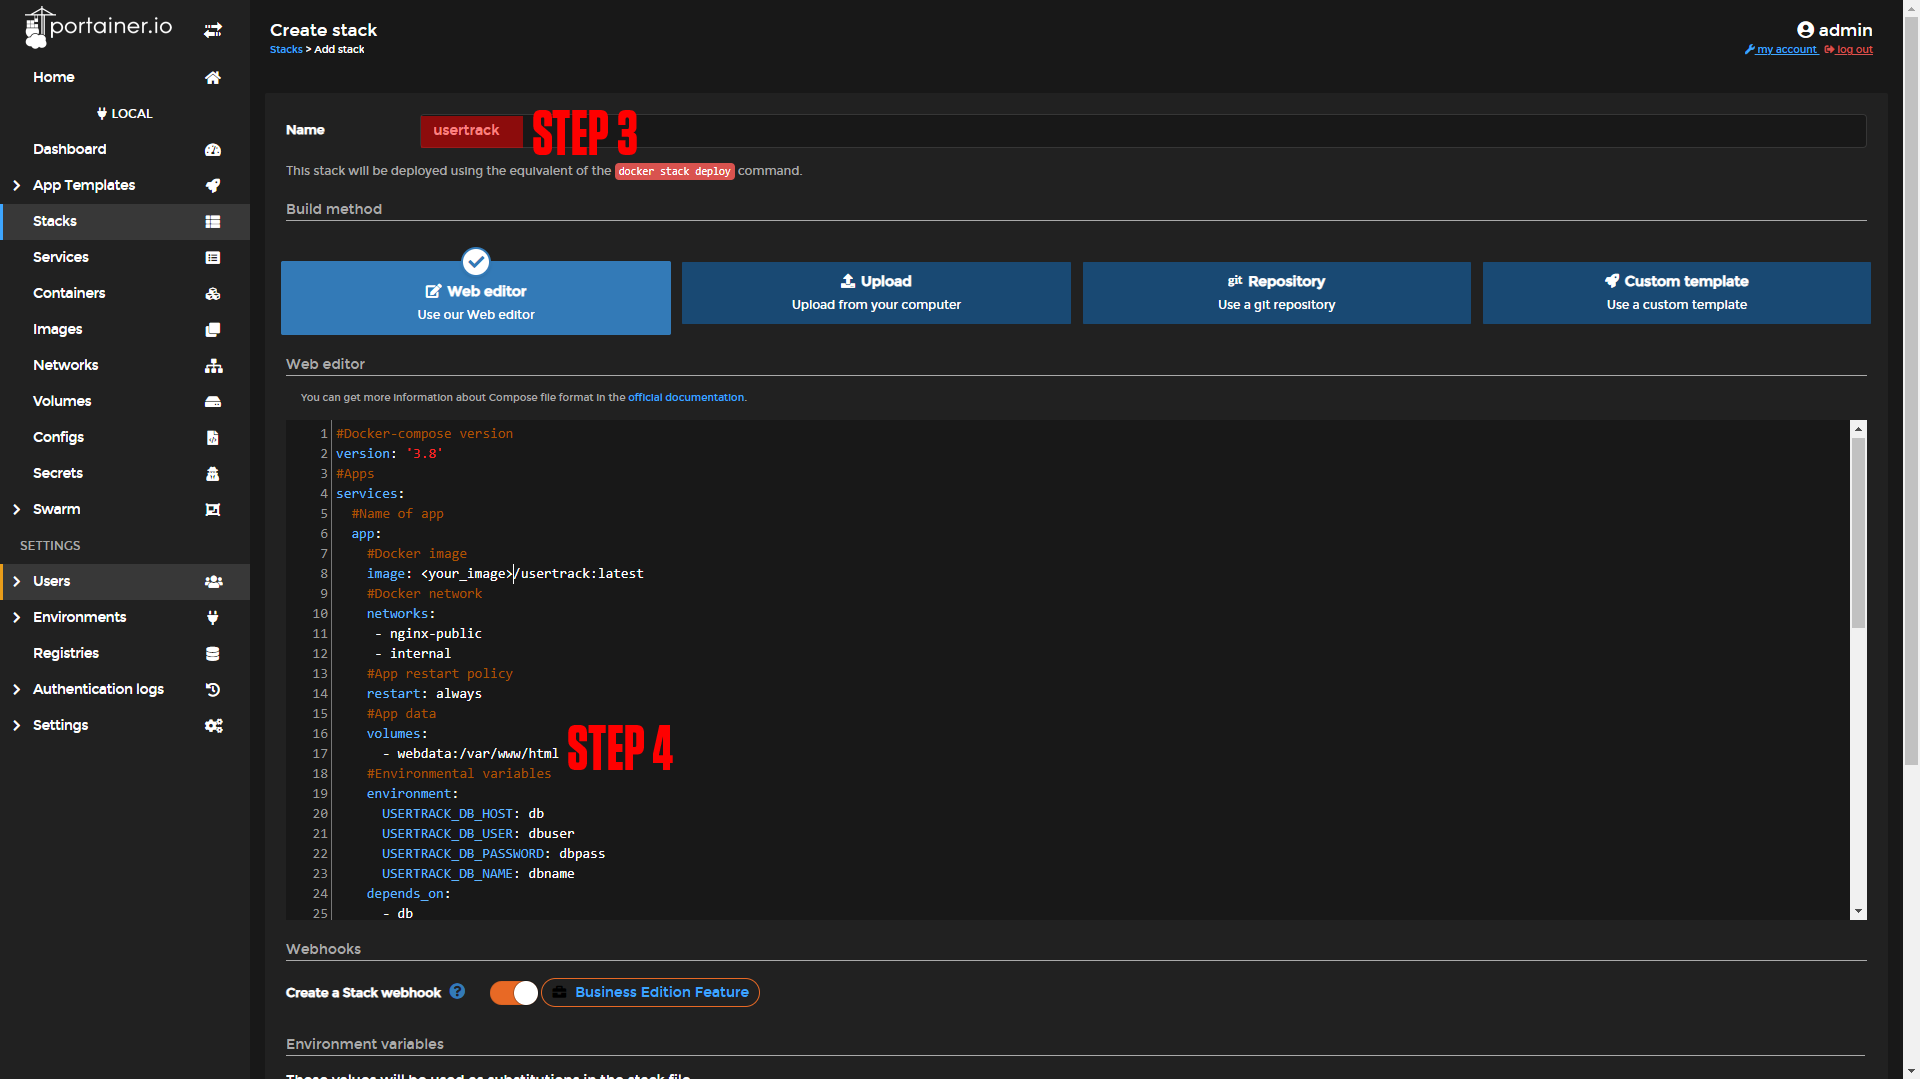
Step 3: Name your stack (Ex. usertrack).
Step 4: Paste in the contents below (Don't forget to change the image name to your image):
|
|
|
#Docker-compose version
version: '3.8'
#Apps
services:
  #Name of app
  app:
    #Docker image
    image: <Your_Image>/usertrack:latest #Make sure to change your image name
    #Docker network
    networks:
     - nginx-public
     - internal
    #App restart policy
    restart: always
    #App data
    volumes:
      - webdata:/var/www/html
    #Environmental variables
    environment:
      USERTRACK_DB_HOST: db
      USERTRACK_DB_USER: dbuser
      USERTRACK_DB_PASSWORD: dbpass
      USERTRACK_DB_NAME: dbname
    depends_on:
      - db

  #Name of app
  db:
    #Docker image
    image: mariadb
    #Docker network
    networks:
      - internal
    #App restart policy
    restart: always
    #App data
    volumes:
      - dbdata:/var/lib/mysql
    #Environmental variables
    environment:
      MYSQL_ROOT_PASSWORD: dbpass
      MYSQL_DATABASE: dbname
      MYSQL_USER: dbuser
      MYSQL_PASSWORD: dbpass
    ulimits:
      nproc: 65535
      nofile:
        soft: 20000
        hard: 40000

networks:
  nginx-public:
    external: true
  internal:
    external: false
volumes:
  dbdata:
webdata:¶ Nginx-Proxy-Manager
Before we configure our apps, we will set up our domains using Nginx-Proxy-Manager. If you followed our Nginx-Proxy-Manager stack setup you should be able to copy everything we do step by step.
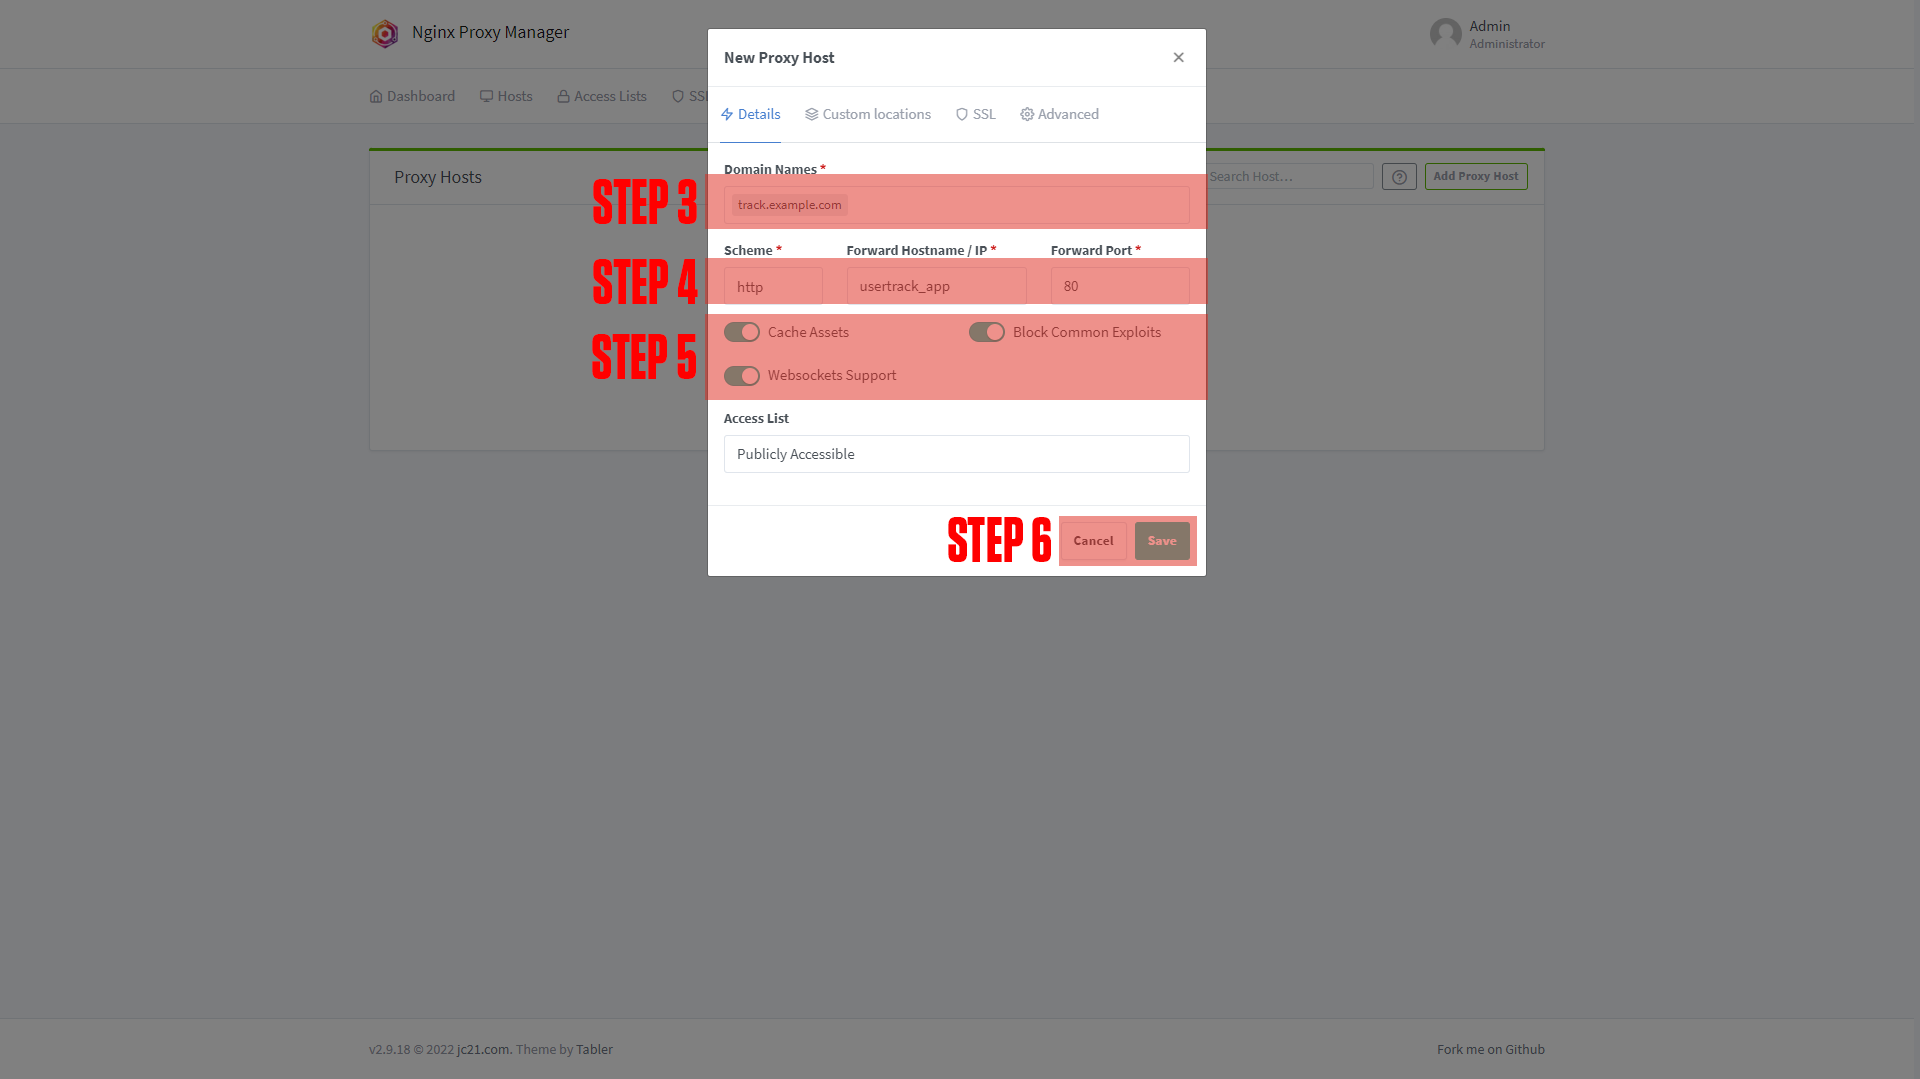
¶ UserTrack Domain Setup
Step 1: Copy the poste-mail service name.
This should be usertrack_app if you did not change the names of apps.
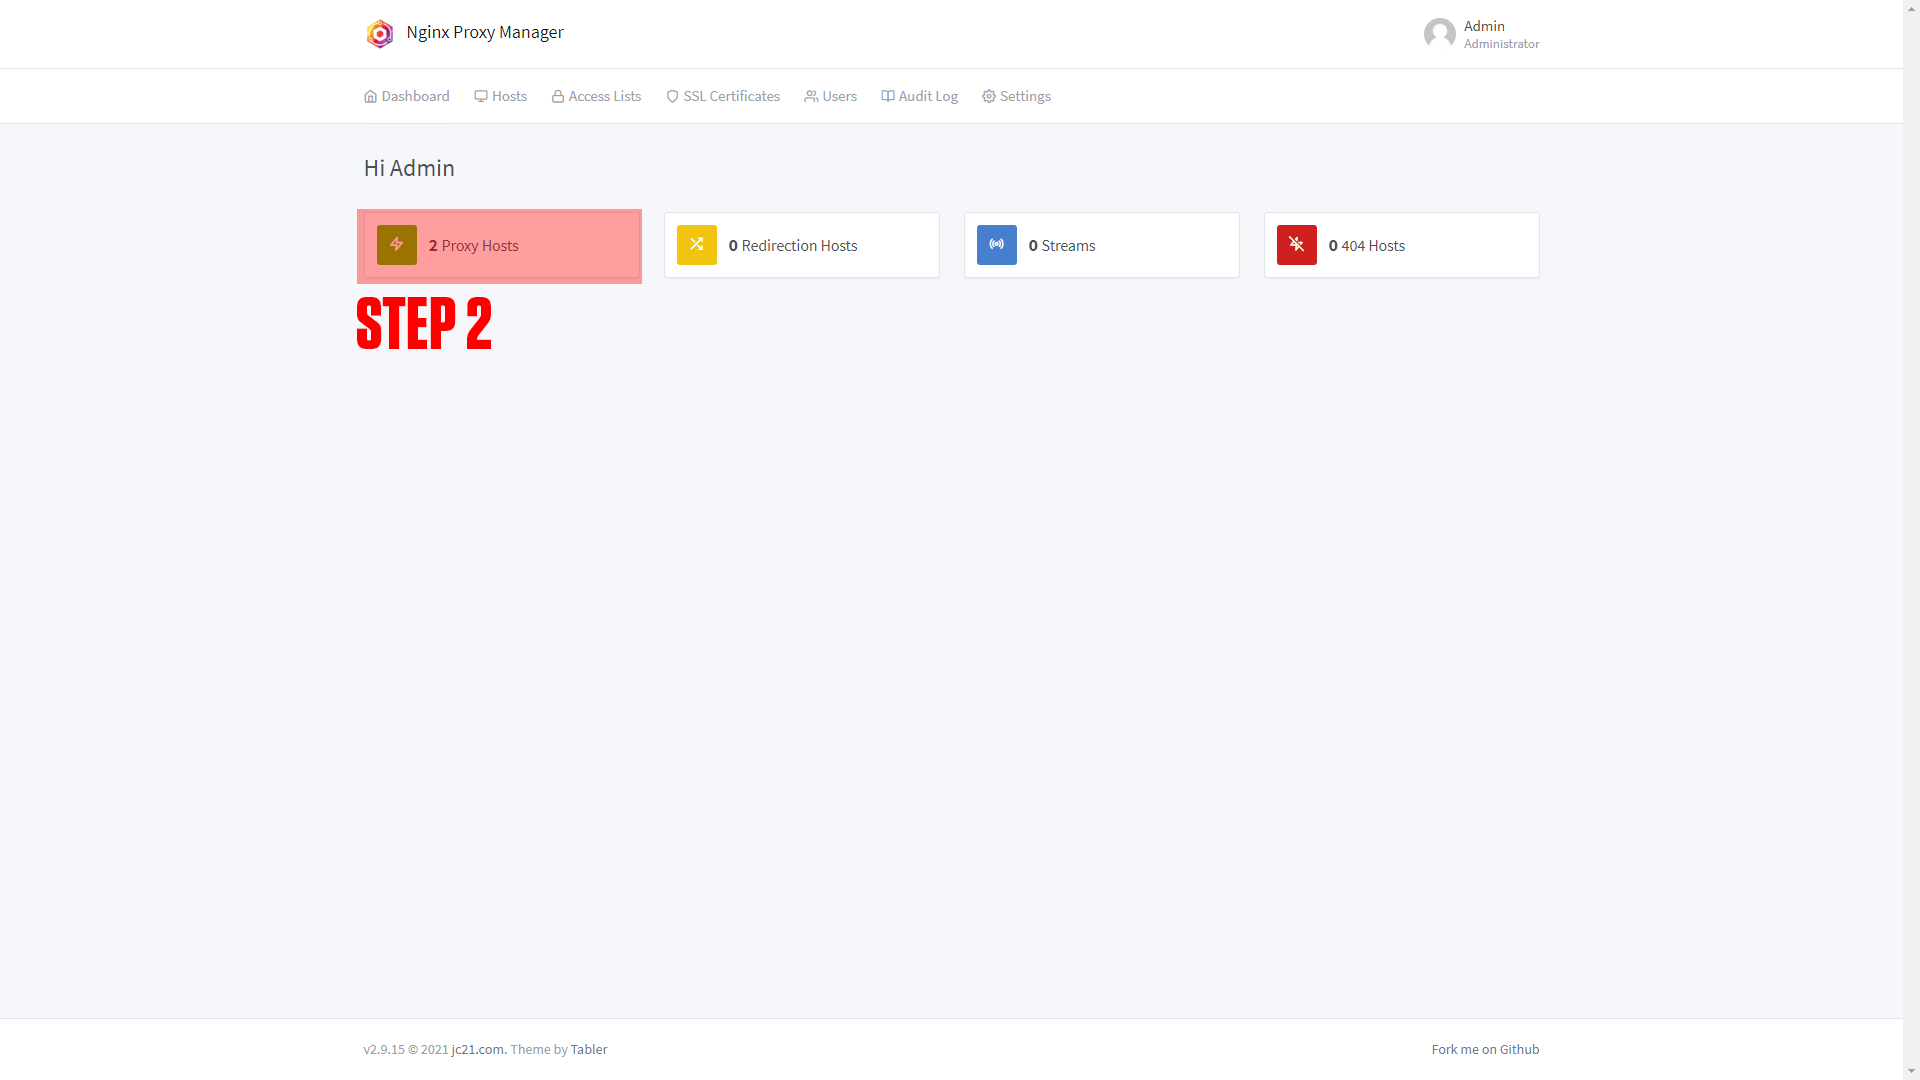
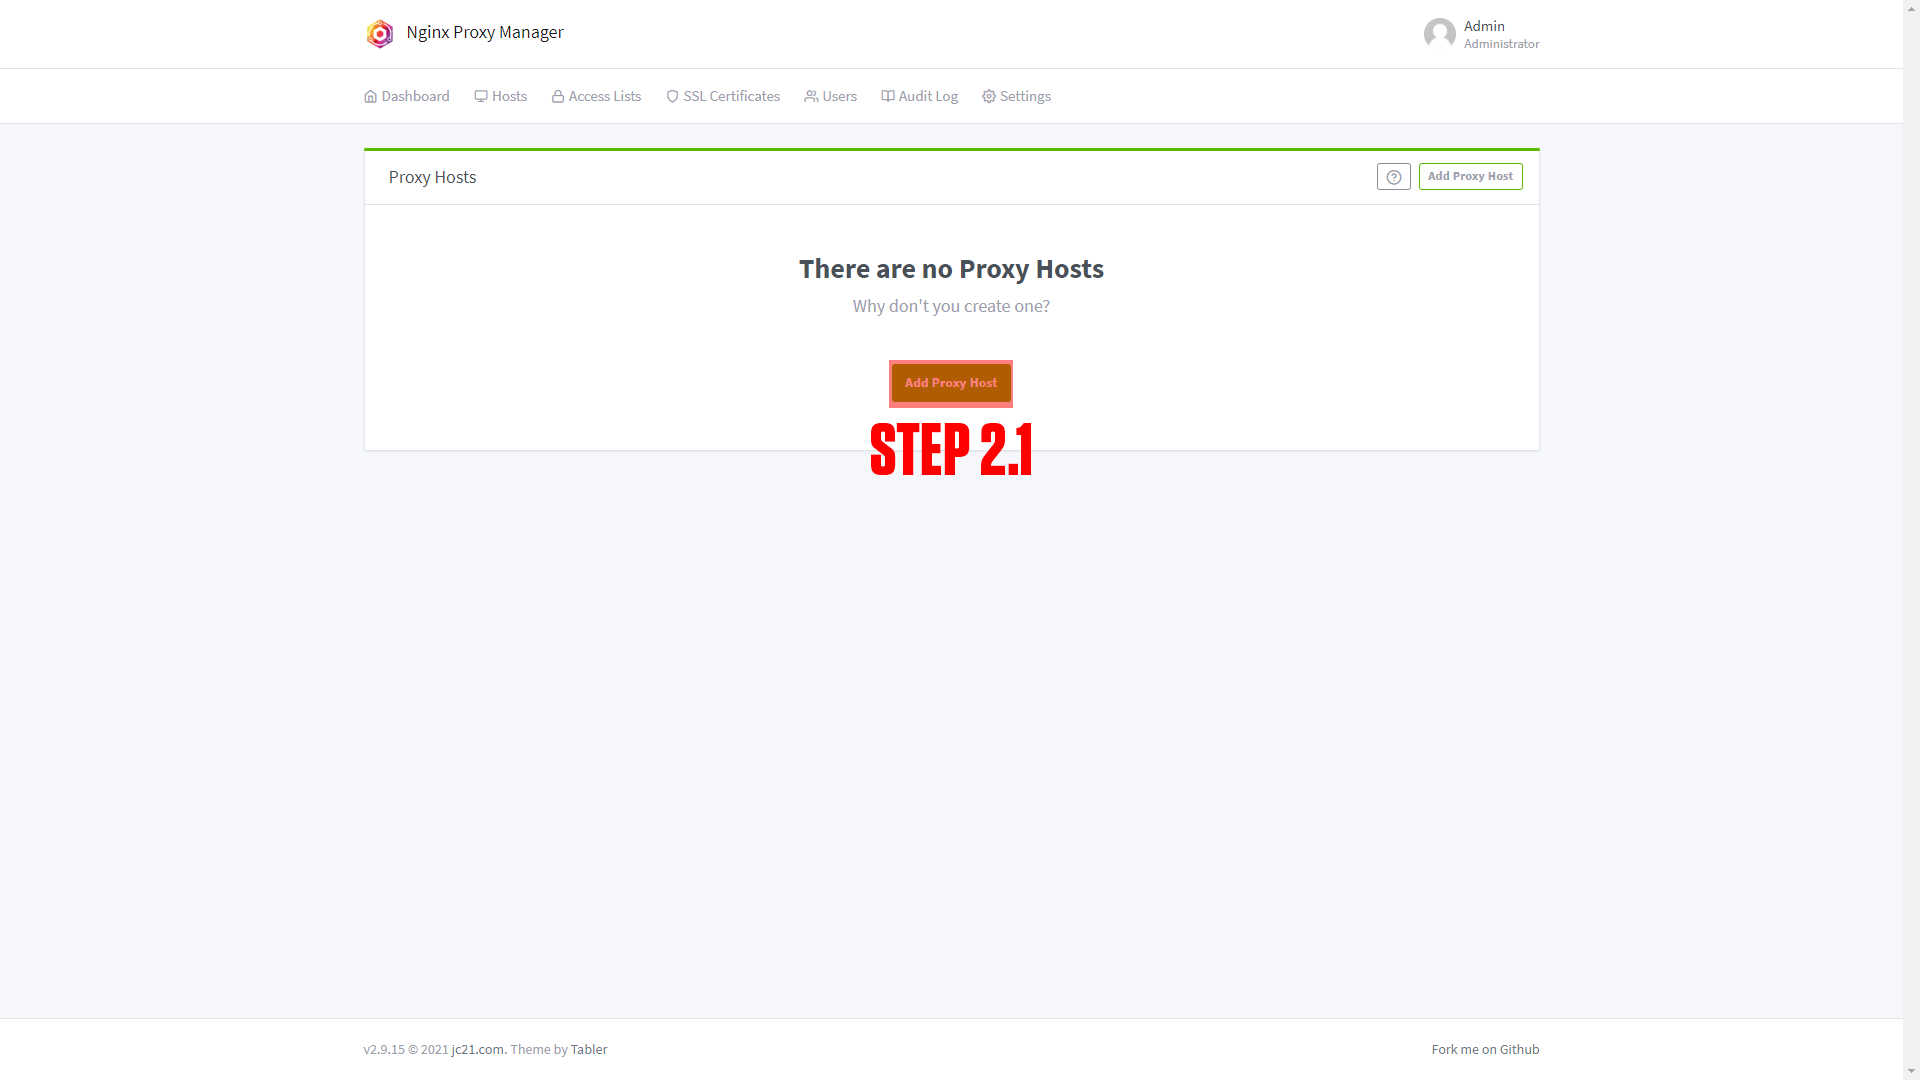
Step 2: Log in to Nginx-Proxy-Manager and create a new proxy host.
Step 3: Enter your Domain name (Ex. track.example.com)
Step 4: Add the service name to the Forward Hostname / IP at port 80.
Step 5: Enable Cache Assets, Block Common Exploits, and Websockets Support.
Step 6: Click Save.
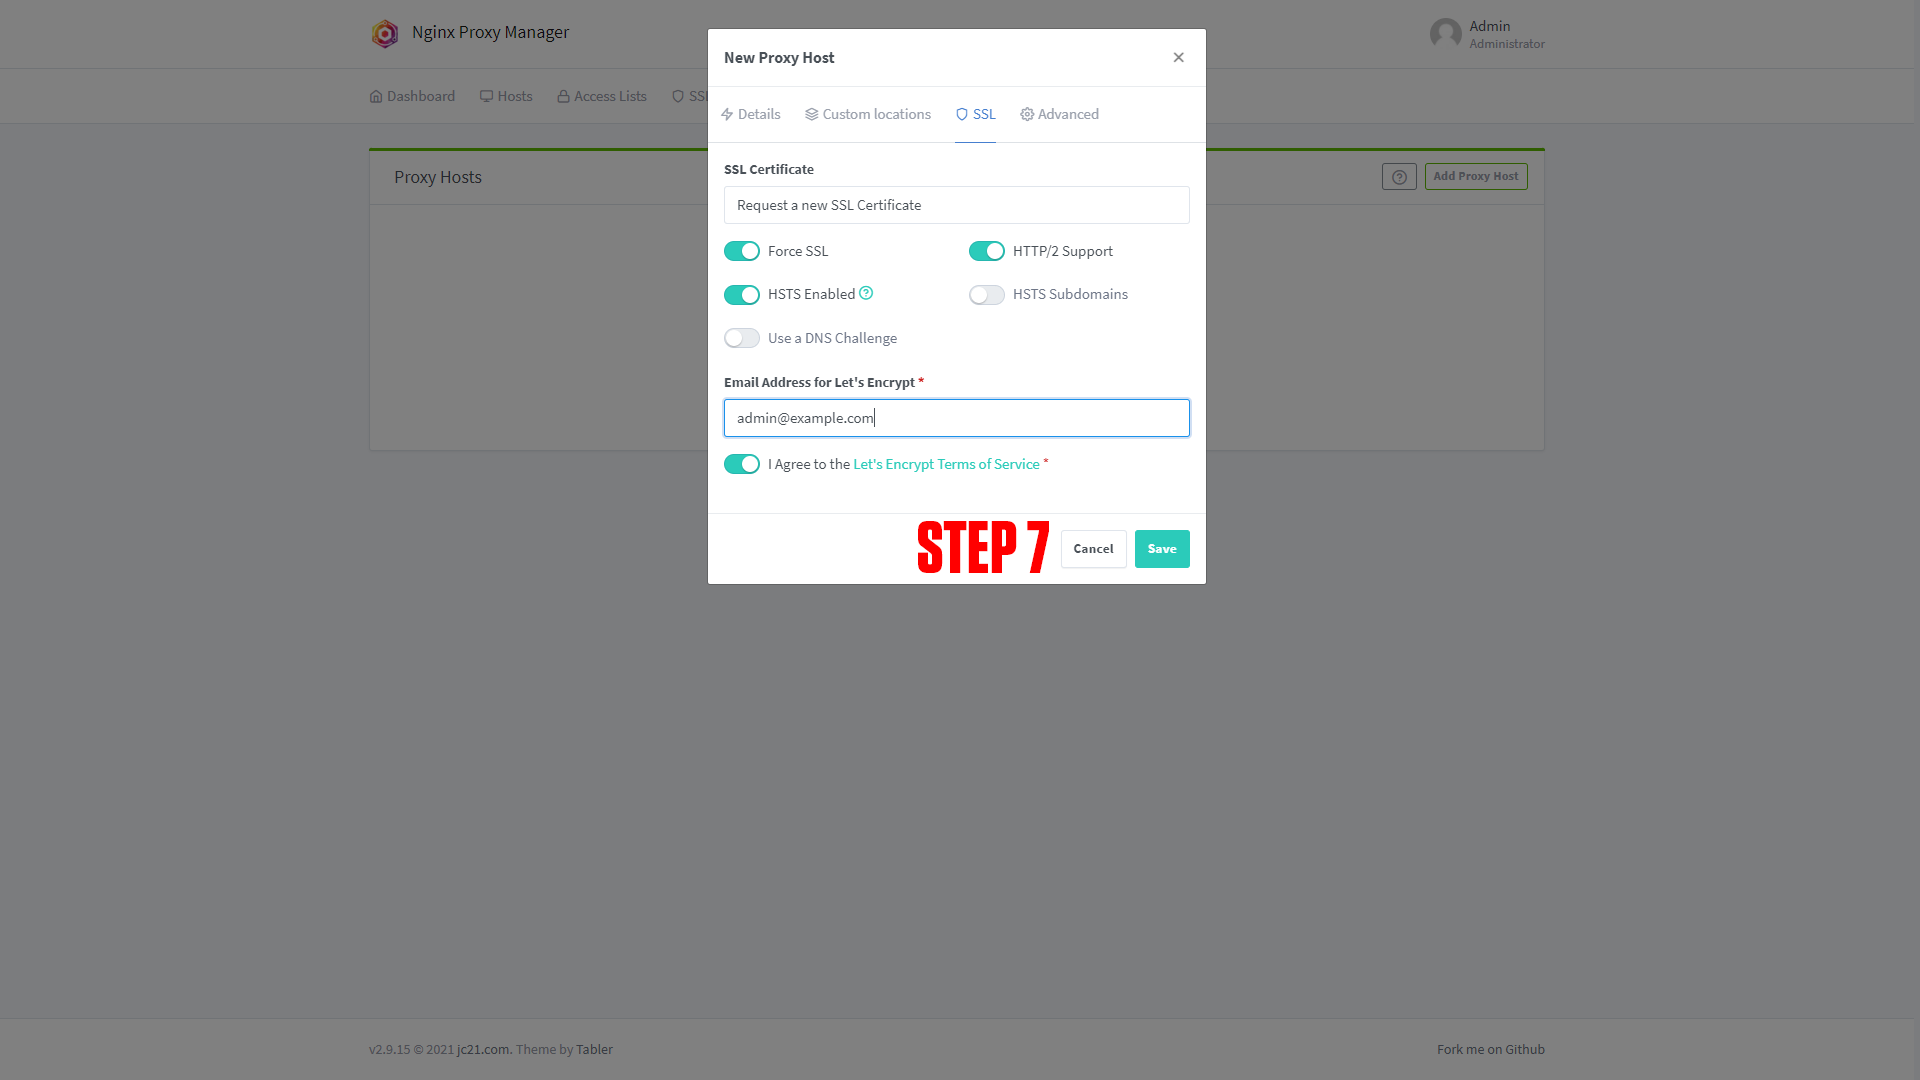
Step 7 (Optional): Enable SSL (we say this is optional, but you should always have an SSL cert if possible).
|
|
|
|
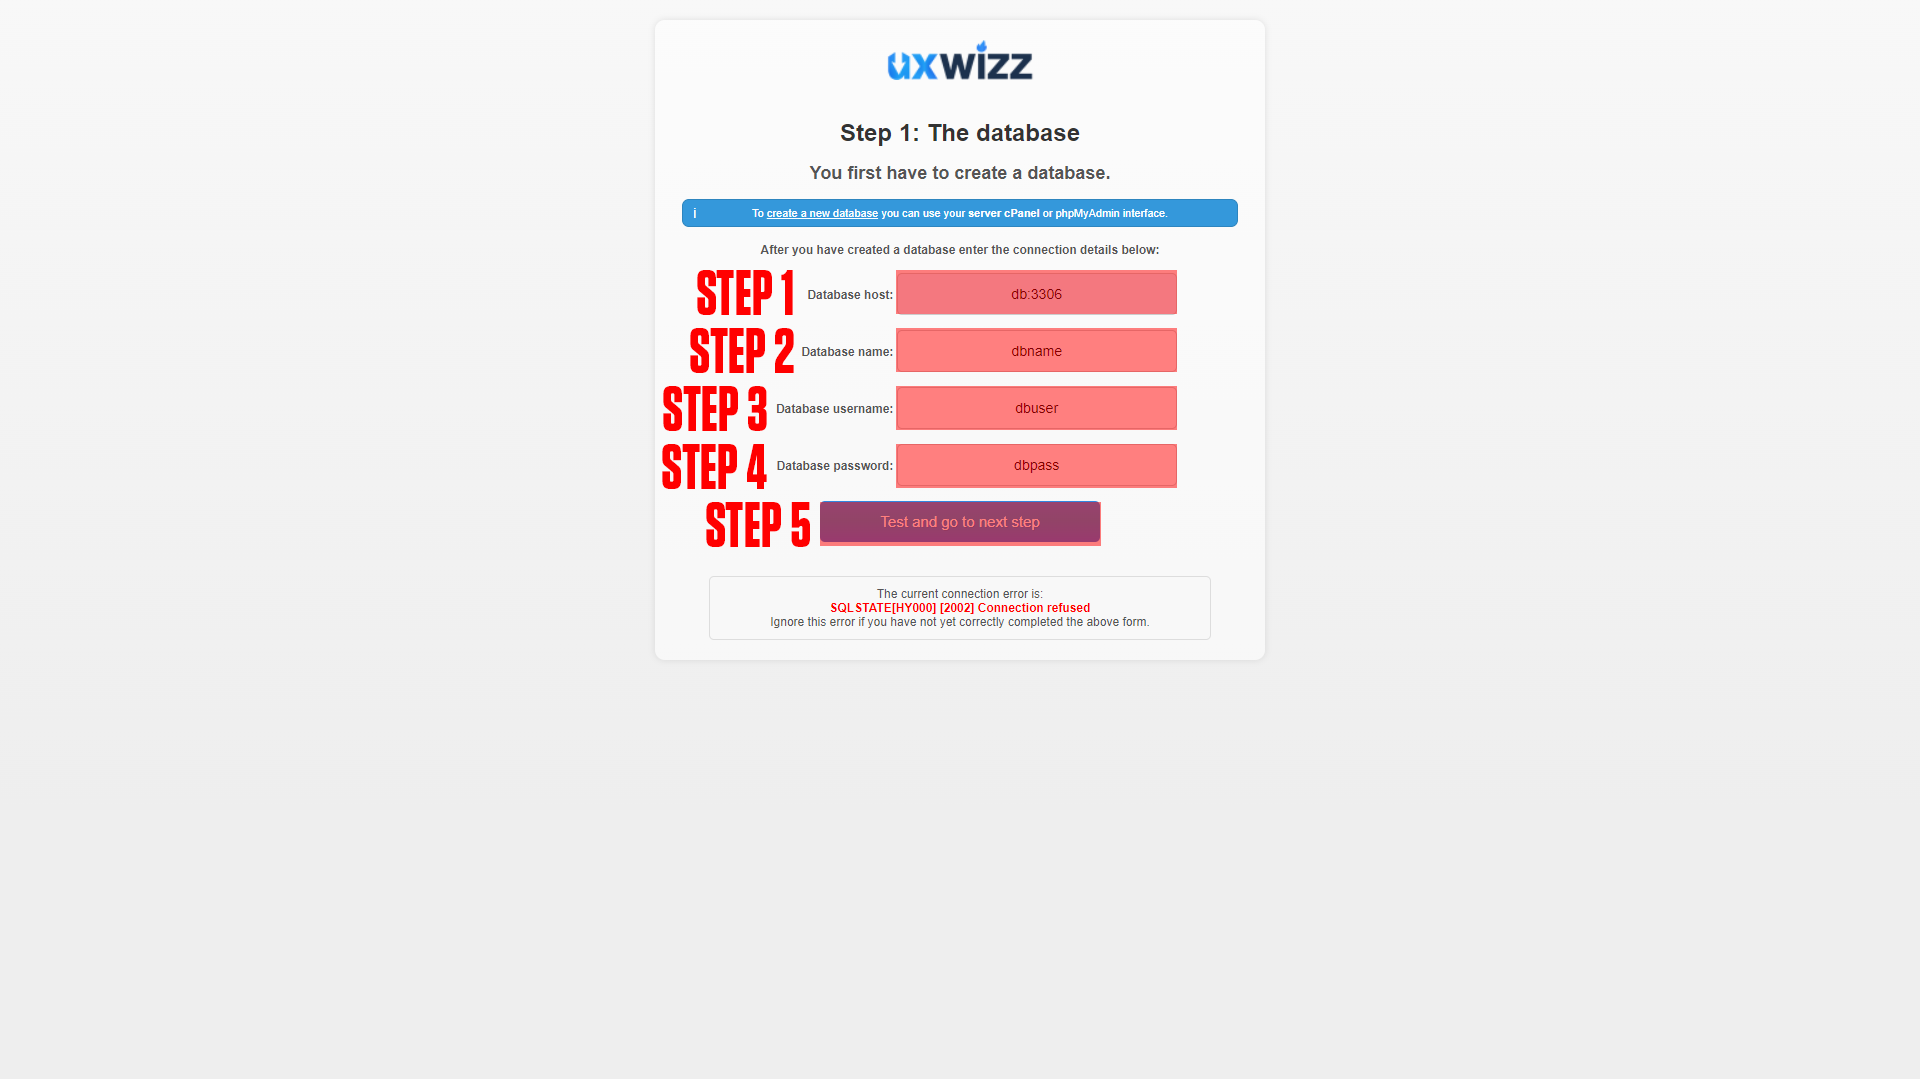
¶ Configuring UserTrack
After setting up your domain name it's time to finish configuring the app. Go to the URL you chose for your application. You should arrive at a screen like this!
|

|
|
(If you do not arrive at a screen like this then something is wrong! Our premium members can open a support ticket Here!)
Step 1. Enter the Database Host: db:3306 this is the database container service name from the compose, and the database port number.
Step 2. Enter the Database Name.
Step 3. Enter the Database Username.
Step 4. Enter the Database Password.
Step 5. Click Test and Go to Next Step.
Step 6. Enter your Admin Account Password.
Step 7. Click Finish Setup.
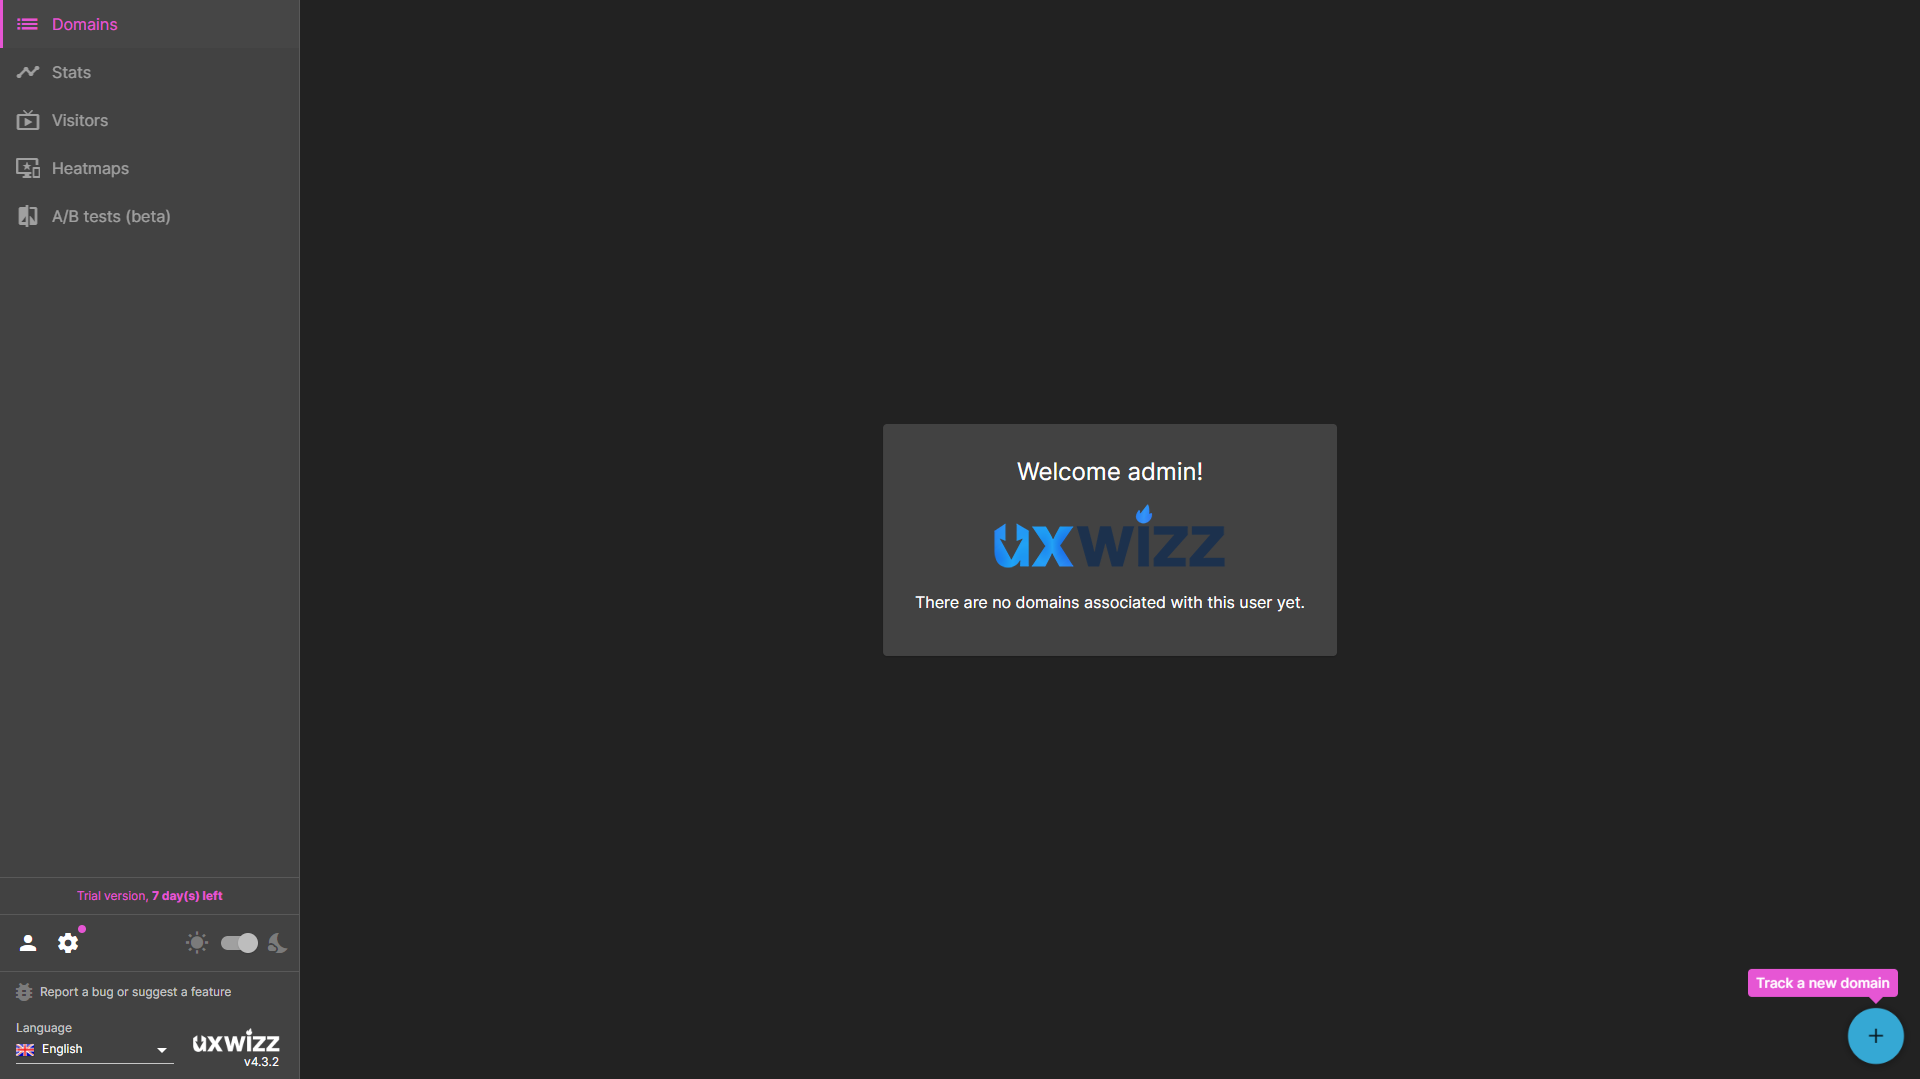
Next, you will log in with admin and your_pass.
¶ Conclusion
Congrats! This is the basic setup for UXWizz, as mentioned at the beginning we have a more in-depth course available at TrueFreedomTech.com.
¶ Troubleshooting
¶ Cannot Update
If you cannot update UXWizz you may be missing some modules. The failed update may take you to an apache page stating the module you are missing. If this is not the case then something else could be wrong! We have not encountered anything else that causes this issue so please reference the UXWizz Docs.