¶ Invoice Ninja: Billing, Invoicing, Accounting.
Invoice Ninja is an open-source invoicing and accounting software used to track time, invoice clients, and take online payments. Invoice Ninja is full of functionality like the ability to manage multiple companies under one application, create invoices from tracked time, and filter almost everything like monthly income from one specific client. You can find more information about Invoice Ninja from the links below:
2. InvoiceNinja/Dockerfiles on Github
3. InvoiceNinja/InvoiceNinja on Github
4. InvoiceNinja/InvoiceNinja on Docker Hub
¶ Introduction
We use Invoice Ninja to keep track of all our income and expenses, take payments from clients, and analytical purposes. There are two versions of Invoice Ninja, version 4, and version 5. We have run both versions and have successfully migrated from version 4 to version 5 with very little issue. We will not be showing you how to build and run version 4 since it is depreciated. Instead, we are focusing on the new and improved version 5 which has a much easier process (although it is different than any other service found on this wiki). The service consists of 3 containers, an Nginx web server, Invoice Ninja, and MySQL or MariaDB.
We will be running Invoice Ninja using Docker, Docker-Compose, Portainer, and Nginx Proxy Manager. This app is deployed locally from a folder location so we will only be using portainer to get the Nginx web server service name to add to our Nginx Proxy Manager. Also since this app is not deployed with portainer, portainer cannot manage it. instead, use docker-compose up -d to start the stack and docker-compose down to stop the stack. In our advanced course, this is not an issue but we do not have a good way to deploy this service locally that allows for full control through portainer. Nevertheless, we can still use portainer to access the command line of the container, check the logs of the container, and stop or restart the container (be careful stopping in portainer, you will need to run docker-compose up -d in the folder to start again).
¶ Overview
We are going to assume you already have a working server with Docker, Portainer, and Nginx Proxy Manager running. We are not using our images for this stack so please consult the Docker hub and Github links for more information regarding the Docker image and source code.
This is strictly how to get the app running. Once again, we cover how to do this at TrueFreedomTech.com in much more detail!
¶ Downloading & Configuring Invoice Ninja
1. First, we need to download the InvoiceNinja/Dockerfiles repository onto our machine.
Windows: download the zip and save where you like.
Linux: git clone https://github.com/invoiceninja/dockerfiles.git
2. Then open the folder.
Windows: unzip and open the folder.
Linux: cd into the folder.
3. configure your docker-compose.yml.
version: '3.8'

services:
  server:
    image: nginx
    restart: always
    env_file: env
    volumes:
      - ./config/nginx/in-vhost.conf:/etc/nginx/conf.d/in-vhost.conf:ro
      - ./docker/app/public:/var/www/app/public:ro
    depends_on:
      - app
    ports:
      - "8080:443" #port exposed for testing on localhost, not needed in production.
    networks:
      - nginx-public
      - internal

  app:
    image: invoiceninja/invoiceninja:5
    env_file: env
    restart: always
    volumes:
      - ./config/hosts:/etc/hosts:ro
      - ./docker/app/public:/var/www/app/public:rw,delegated
      - ./docker/app/storage:/var/www/app/storage:rw,delegated
    depends_on:
      - db
    networks:
      - internal

  db:
    image: mysql:5
#    When running on ARM64 use MariaDB instead of MySQL
#    image: mariadb:10.4
#    For auto DB backups comment out image and use the build block below
    restart: always
    env_file: env
    volumes:
      - ./docker/mysql/data:/var/lib/mysql:rw,delegated
      # remove comments for next 4 lines if you want auto sql backups
      #- ./docker/mysql/bak:/backups:rw
      #- ./config/mysql/backup-script:/etc/cron.daily/daily:ro
      #- ./config/mysql/backup-script:/etc/cron.weekly/weekly:ro
      #- ./config/mysql/backup-script:/etc/cron.monthly/monthly:ro
    networks:
      - internal
networks:
  nginx-public:
    external: true
  internal:
external: false4. Configure your Nginx vhost.
server {
    listen 443 default_server;
    server_name _;

    client_max_body_size 100M;

    root /var/www/app/public/;
    index index.php;

    location / {
        try_files $uri $uri/ /index.php?$query_string;
    }

    location = /favicon.ico { access_log off; log_not_found off; }
    location = /robots.txt  { access_log off; log_not_found off; }

    location ~ \.php$ {
        fastcgi_split_path_info ^(.+\.php)(/.+)$;
        fastcgi_pass app:9000;
        fastcgi_index index.php;
        include fastcgi_params;
        fastcgi_param SCRIPT_FILENAME $document_root$fastcgi_script_name;
        fastcgi_intercept_errors off;
        fastcgi_buffer_size 16k;
        fastcgi_buffers 4 16k;
    }
}
5. Run docker run --rm -it invoiceninja/invoiceninja php artisan key:generate --show and copy the full key Base64…=
6. Paste your key into the env and configure the rest of your env settings.
Things that you should change have “#changeme” beside them. We do not show you how to configure the mail options so please consult Invoice Ninja's official documentation for more information.
# IN application vars
APP_URL=http://invoice.example.com
APP_KEY= #changeme
APP_DEBUG=false
REQUIRE_HTTPS=false
PHANTOMJS_PDF_GENERATION=false
PDF_GENERATOR=snappdf

QUEUE_CONNECTION=database

# DB connection
DB_HOST=db
DB_PORT=3306
DB_DATABASE=ninja  #changeme
DB_USERNAME=ninja  #changeme
DB_PASSWORD=ninja  #changeme

# Create initial user
# Default to these values if empty
# IN_USER_EMAIL=admin@example.com
# IN_PASSWORD=changeme!
IN_USER_EMAIL=  #changeme
IN_PASSWORD=  #changeme

# Mail options
MAIL_MAILER=log
MAIL_HOST=smtp.mailtrap.io
MAIL_PORT=2525
MAIL_USERNAME=null
MAIL_PASSWORD=null
MAIL_ENCRYPTION=null
MAIL_FROM_ADDRESS='user@example.com'
MAIL_FROM_NAME='Self Hosted User'

# MySQL
MYSQL_ROOT_PASSWORD=ninjaAdm1nPassword
  #changeme
MYSQL_USER=ninja  #changeme
MYSQL_PASSWORD=ninja  #changeme
MYSQL_DATABASE=ninja  #changeme

# V4 env vars
# DB_STRICT=false
# APP_CIPHER=AES-256-CBC
7. Run docker-compose up -d
This will start the application in the background and will use the name of the folder for the stack name. You can navigate to portainer, find your stack, and monitor it from there.
¶ Nginx-Reverse-Proxy
Before we configure Invoice Ninja, we will set up our domain using Nginx-Proxy-Manager. If you followed our Nginx-Proxy-Manager stack setup you should be able to copy everything we do step by step.
¶ Invoice Ninja Domain Setup
Step 1: Copy the Invoice Ninja service name.
This should be <folder_name>_ if you did not change the names of apps.
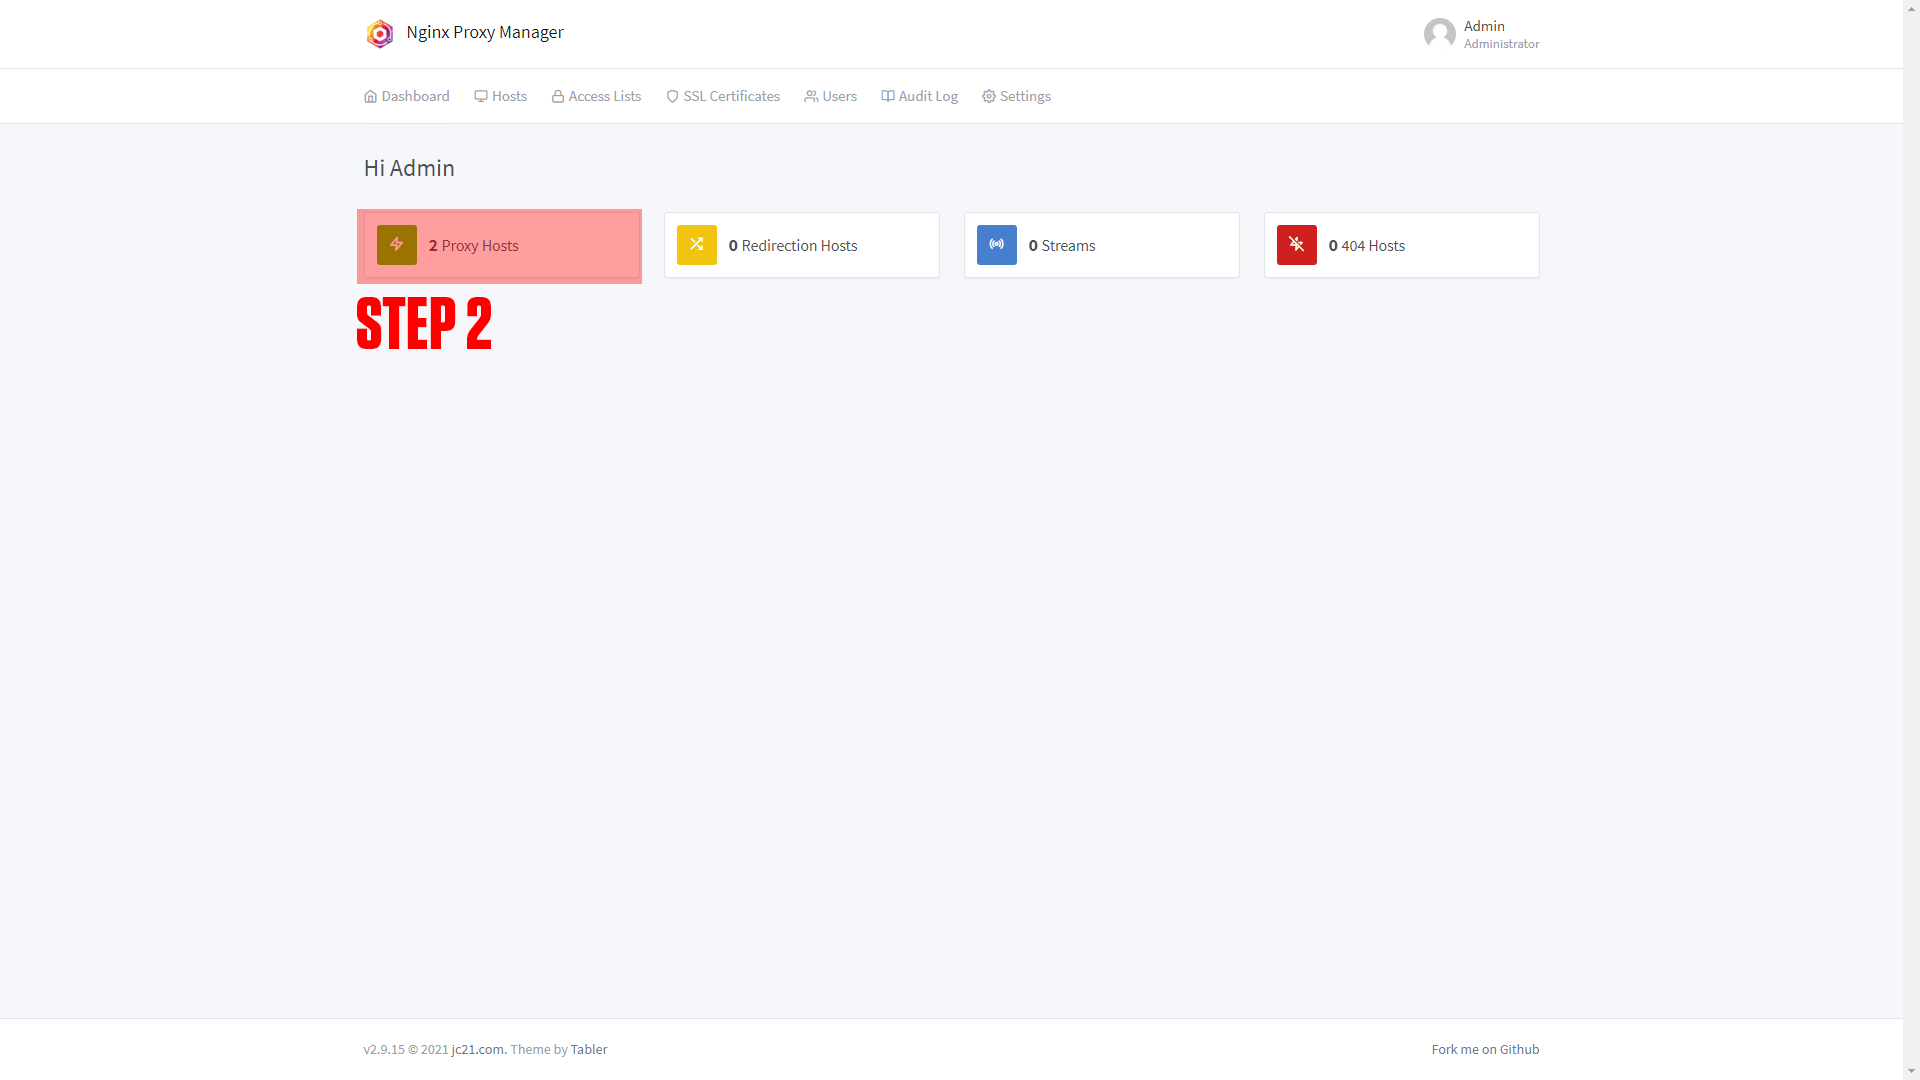
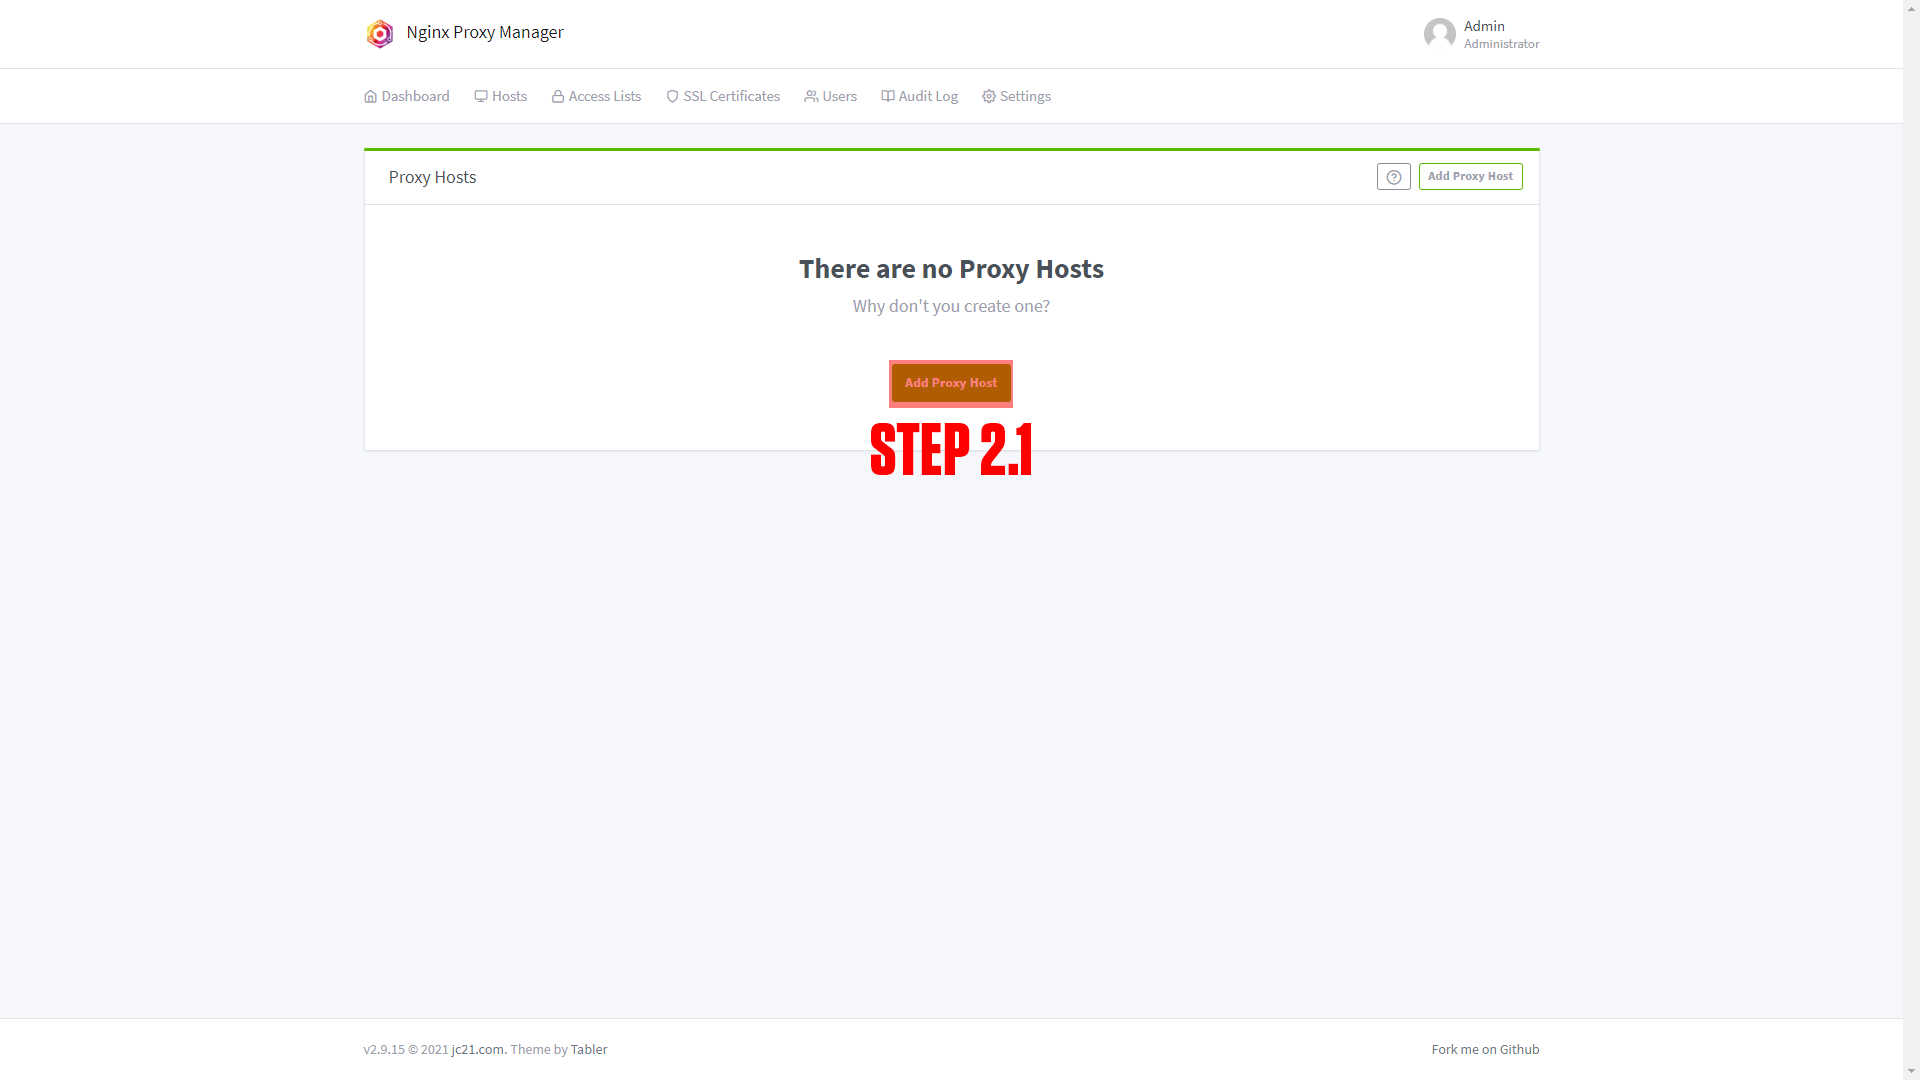
Step 2: Log in to Nginx-Proxy-Manager and create a new proxy host.
Step 3: Enter your Domain name (Ex. dashboard.example.com)
Step 4: Add the service name to the Forward Hostname / IP at port 80.
Step 5: Enable Cache Assets, Block Common Exploits, and Websockets Support.
Step 6: Click Save.
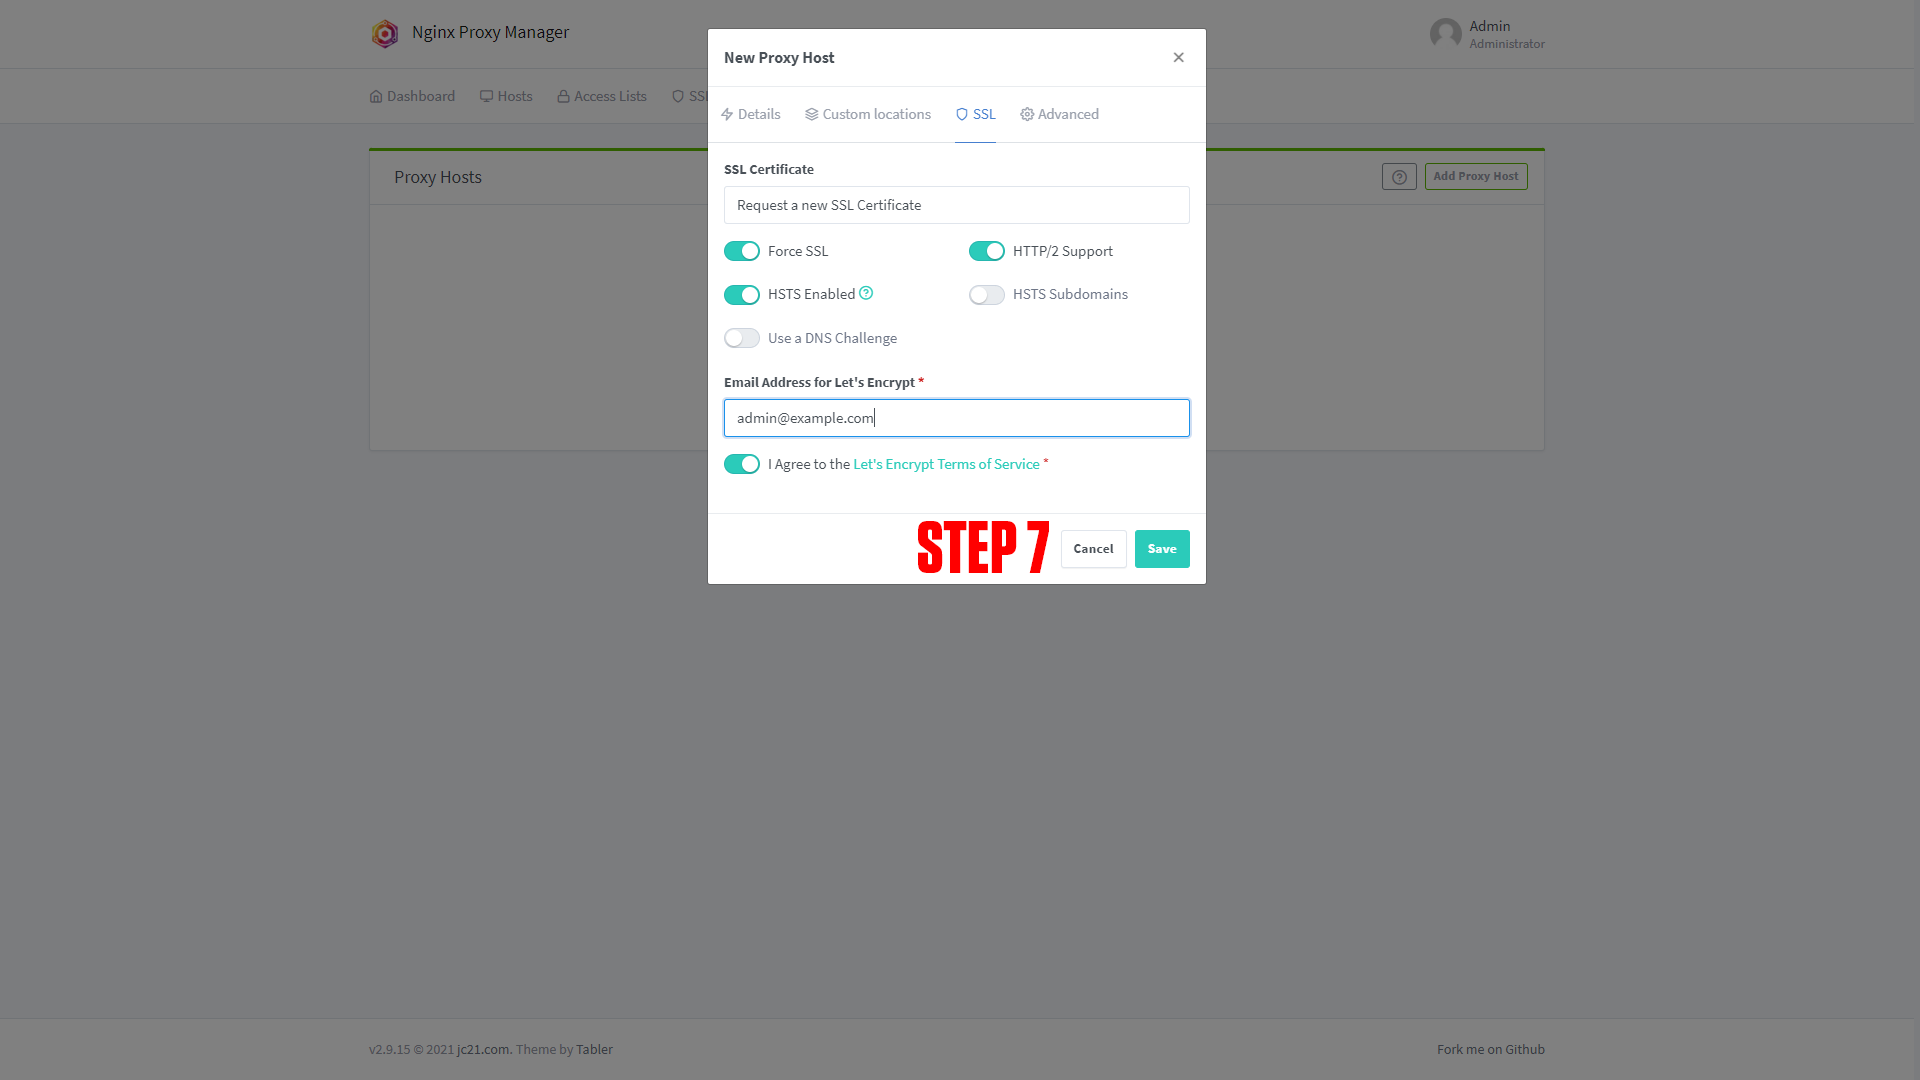
Step 7 (Optional): Enable SSL (we say this is optional, but you should always have an SSL cert if possible).
|
|

|
|
¶ Configuring Invoice Ninja
After setting up your domain name it's time to finish configuring the app. Go to the URL you chose for your application. You should arrive at a screen like this!
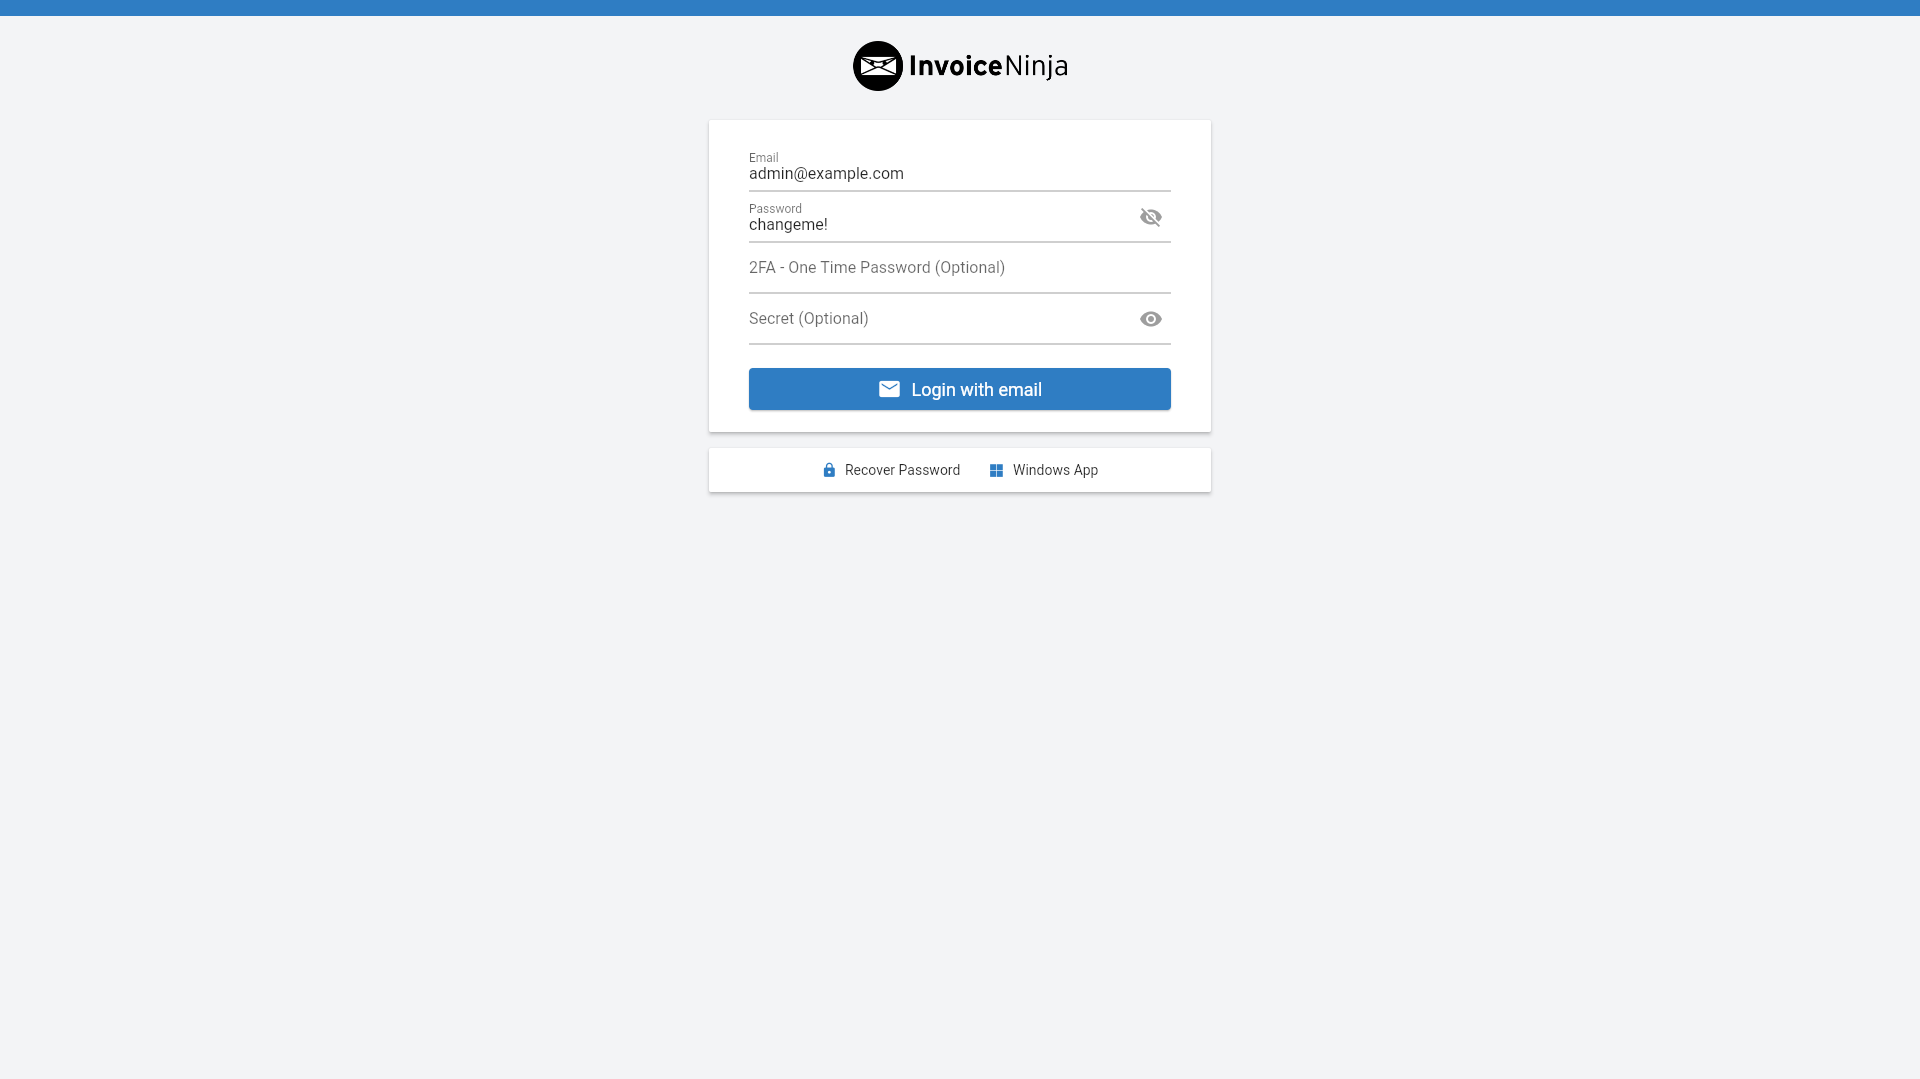
(If you do not arrive at a screen like this then something is wrong! Our premium members can open a support ticket Here!)
The default login is:
User: admin@example.com
pass: changeme!
This can be changed in the env before deployment.
¶ Conclusion
Congrats! This is the basic setup for Heimdall, as mentioned at the beginning we have a more in-depth course available at TrueFreedomTech.com.
¶ Troubleshooting
¶ Nginx 502 Error
¶ Restart the Nginx Container
If you keep getting a 502 error on initial startup or restart then restart the nginx container.
In most cases, this will fix the issue. The problem is the connection from nginx to php-fpm running in the invoice ninja container.
¶ Connection Refused - Initial Setup
If restarting the container does not fix the issue the connection may be getting refused.
This issue took a bit to figure out and one potential fix is to change the docker-compose.yml & Nginx vhost.
¶ Docker-compose.yml
Change the Invoice Ninja service name from “app” to "invoiceninja"
From:
  app:
    image: invoiceninja/invoiceninja:5
env_file: envTo:
  invoiceninja:
    image: invoiceninja/invoiceninja:5
env_file: envYou also need to change the “depends on” line under the server service.
From:
  server:
    image: nginx
    restart: always
    env_file: env
    volumes:
      - ./config/nginx/in-vhost.conf:/etc/nginx/conf.d/in-vhost.conf:ro
      - ./docker/app/public:/var/www/app/public:ro
    depends_on:
- appTo:
  server:
    image: nginx
    restart: always
    env_file: env
    volumes:
      - ./config/nginx/in-vhost.conf:/etc/nginx/conf.d/in-vhost.conf:ro
      - ./docker/app/public:/var/www/app/public:ro
    depends_on:
- invoiceninja¶ Nginx vhost
Change the Nginx vhost from “app:9000” to “invoiceninja:9000”
From:
    location ~ \.php$ {
        fastcgi_split_path_info ^(.+\.php)(/.+)$;
fastcgi_pass app:9000;To:
    location ~ \.php$ {
        fastcgi_split_path_info ^(.+\.php)(/.+)$;
fastcgi_pass invoiceninja:9000;This issue has to do with Docker DNS. Since we define the “nginx-public” network our nginx service can see anything inside that network. Something else named “app” may be receiving the connection instead of Invoice Ninja. We have tested this and can confirm it fixed the issue in our case.
¶ Database Connection Refused
Check the database logs in portainer and ensure that it is finished starting up before proceeding. On the initial setup, it may take some time before this error resolves itself because the database takes a bit to install all its default tables and start accepting connections.
If something else is causing this issue then check your database settings in the “env” file and ensure they are correct.
If the “env” file is accurate and you continue to get connection refused then you may need to delete the database and reinstall Invoice Ninja, if this is an Invoice Ninja instance used in production you may want to seek a professional to assist and prevent data loss if possible.