LittleLink Custom is a fork of LittleLink, an alternative social landing page like Linktree. It allows you to create multiple landing pages with lists of links! You have the ability to choose from pre-made templates, make your own templates, or download templates made by the community. Everything is customizable, you can add Redis, change the database, set up custom mailing options, add terms of service and contact options (allowing for embedded forms), and more. You can find more information about LittleLink Custom below:
- LittleLink-Custom.com
- JulianPrieber/LittleLink-Custom on GitHub
- JulianPrieber/LittleLink-Custom on Docker Hub
¶ Introduction
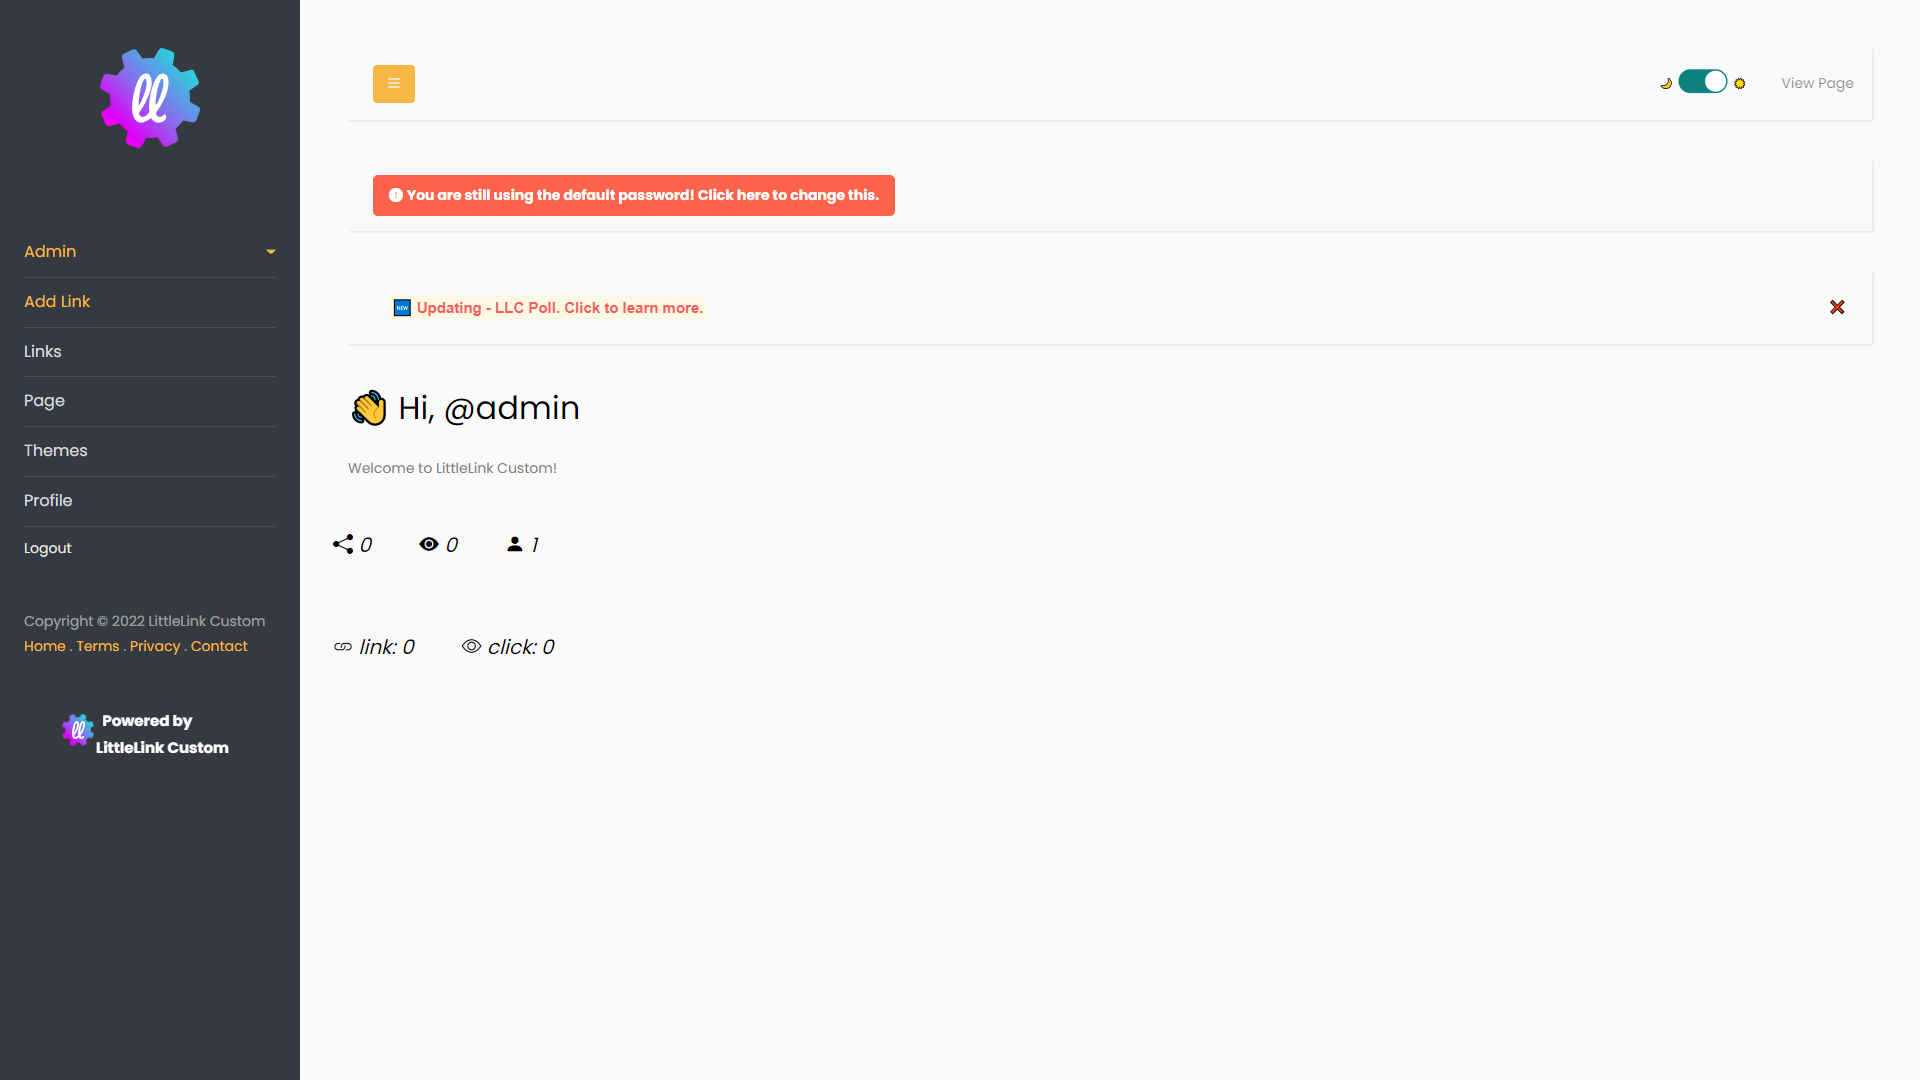
LittleLink Custom offers exactly what Linktree offers wrapped in an open-source application. It is relatively easy to set up and highly configurable! LittleLink Also offers basic analytics for the number of links, page clicks, and user count (Useful if you allow public sign-ups). By viewing the links tab in the admin area you can see the individual page clicks. There are also options to integrate your own analytics tracking code in the advanced configuration (See UserTrack). LittleLink has a built-in SMTP server, the ability to change the database from SQLite, and the ability to add Redis Cache. We will not be covering all the things you can do with LittleLink here, this is just a basic installation but it is important to mention these more advanced things that (to my knowledge) LinkTree does not provide. In other words, open source makes everything better and more flexible!
Getting back to the basics, LittleLink allows for 40+ predefined buttons and will pull the favicon from the website you link if you are using custom buttons. So let's say you want to add your website, if your favicon is set up properly LittleLink will automatically pull it into the button. You can also add color gradients, change the text color, and add CSS to your individual buttons. If you have used much CSS you know that the possibilities for customization are nearly unlimited. It's important to mention that there are 2 custom button options Custom_Website and Custom. Custom_Website does not allow you to change the icon and will pull the favicon, Custom allows you to set the icon yourself!
If you would like to see LittleLink in action check out our instance here: Hello.TrueFreedomTech.com.
We will be running LittleLink Custom using Docker, Docker-compose, Portainer, and Nginx-Proxy-Manager. We have an advanced course on how to do this at TrueFreedomTech.com covering multiple configurations, separating data from compute, deploying with git, and more.
¶ Overview
We are going to assume you already have a working server with Docker, Portainer, and Nginx Proxy Manager running. We will go over the custom configuration file, the docker-compose for the stack, and configuring Nginx-Proxy-Manager.
¶ Docker-Compose
The first step is our Docker-Compose. We will be deploying this with Portainer.
If you are not familiar with Portainer or Docker-Compose here are the official docs:
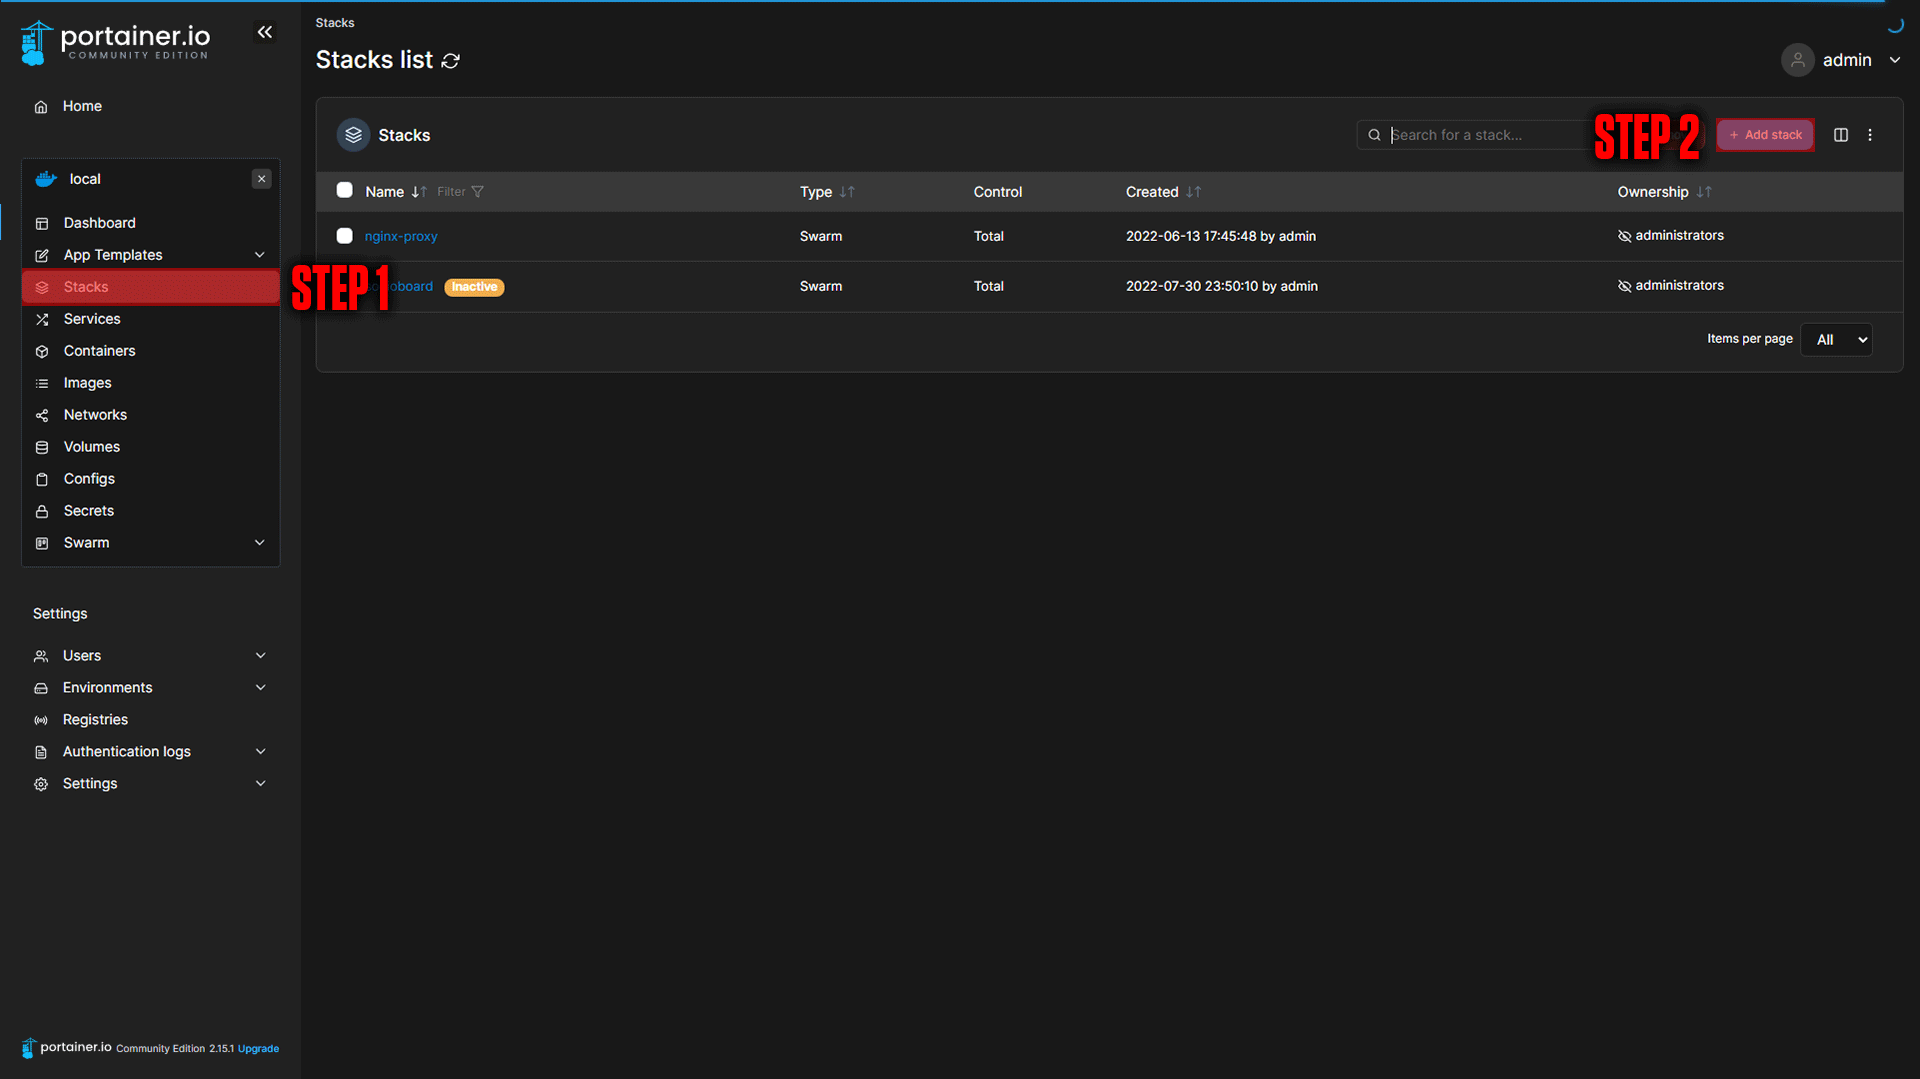
Step 1: Go to Stacks.
Step 2: Click Add Stack.
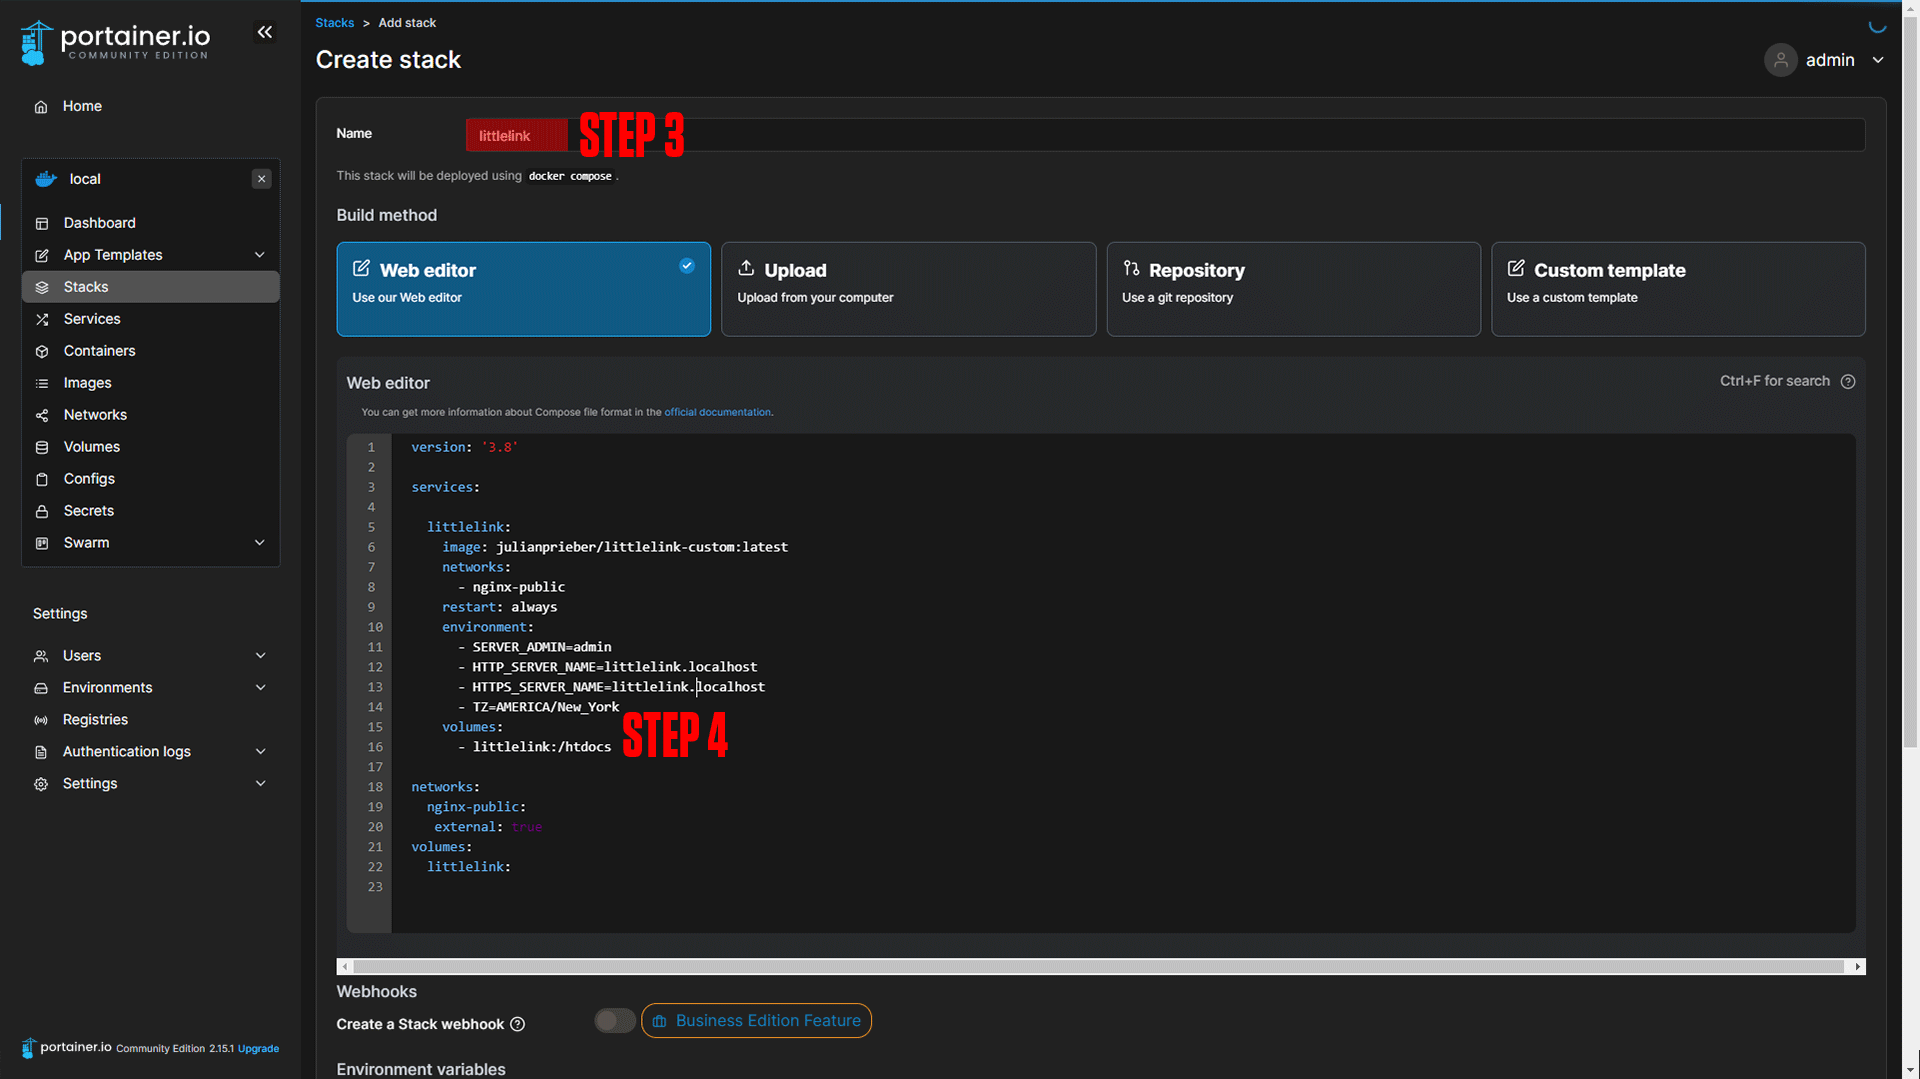
Step 3: Name your stack (Ex. littlelink).
Step 4: Paste in the Docker-Compose below:
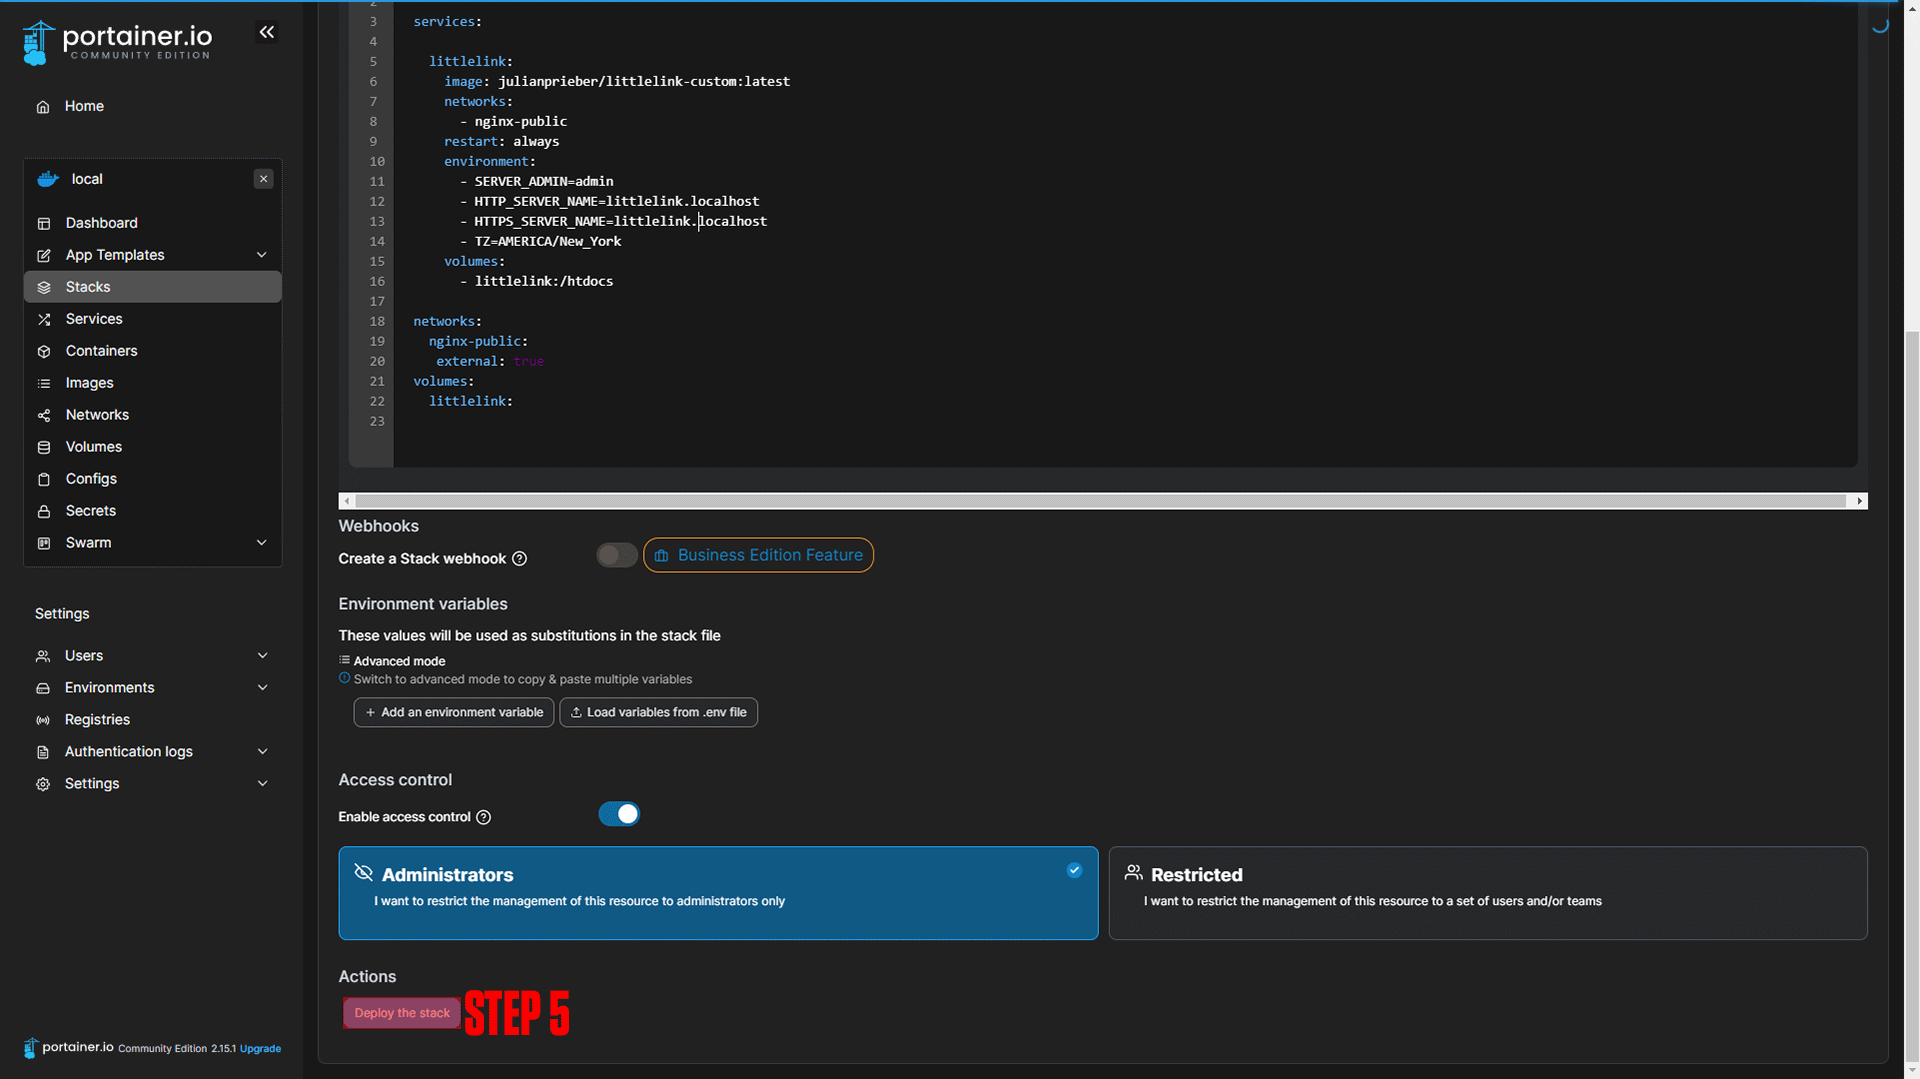
Step 5: Deploy the stack.
|
|
|
#Docker-compose version
version: '3.8'
#Apps
services:
  #Name of app
  littlelink:
    #Docker image
    image: julianprieber/littlelink-custom:latest
    #Docker Network
    networks:
      - nginx-public
    #App restart policy
    restart: always
    #Environmental variables
    environment:
      - SERVER_ADMIN=admin
      - HTTP_SERVER_NAME=littlelink.example.com
      - HTTPS_SERVER_NAME=littlelink.example.com
      - TZ=AMERICA/New_York
    #App data
    volumes:
      - littlelink:/htdocs

networks:
  nginx-public:
   external: true
volumes:
  littlelink:
¶ Nginx-Proxy-Manager
Next, we will configure our domain. If you followed our Nginx-Proxy-Manager stack setup you should be able to copy everything we do step by step.
¶ LittleLink Domain Setup
Step 1: Copy the Nextcloud service name.
This should be littlelink_littlelink if you did not change the names of apps.
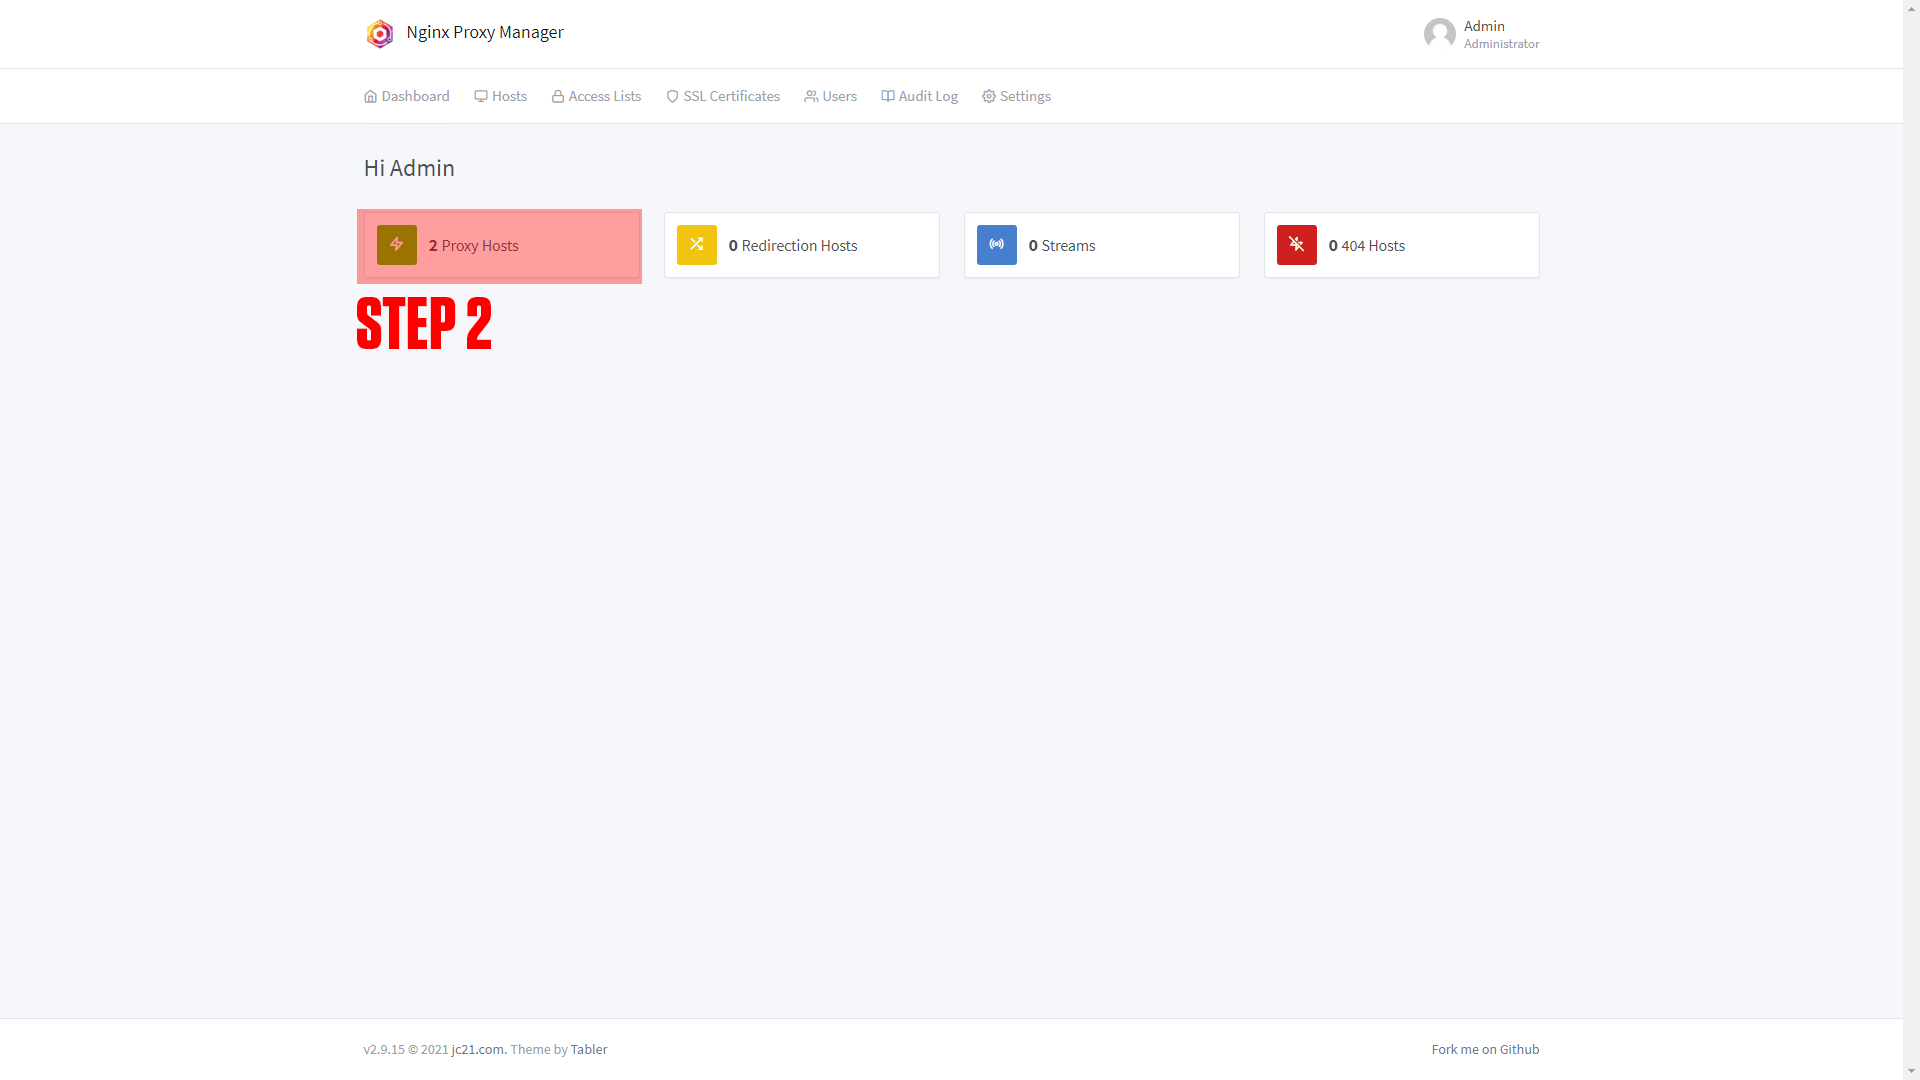
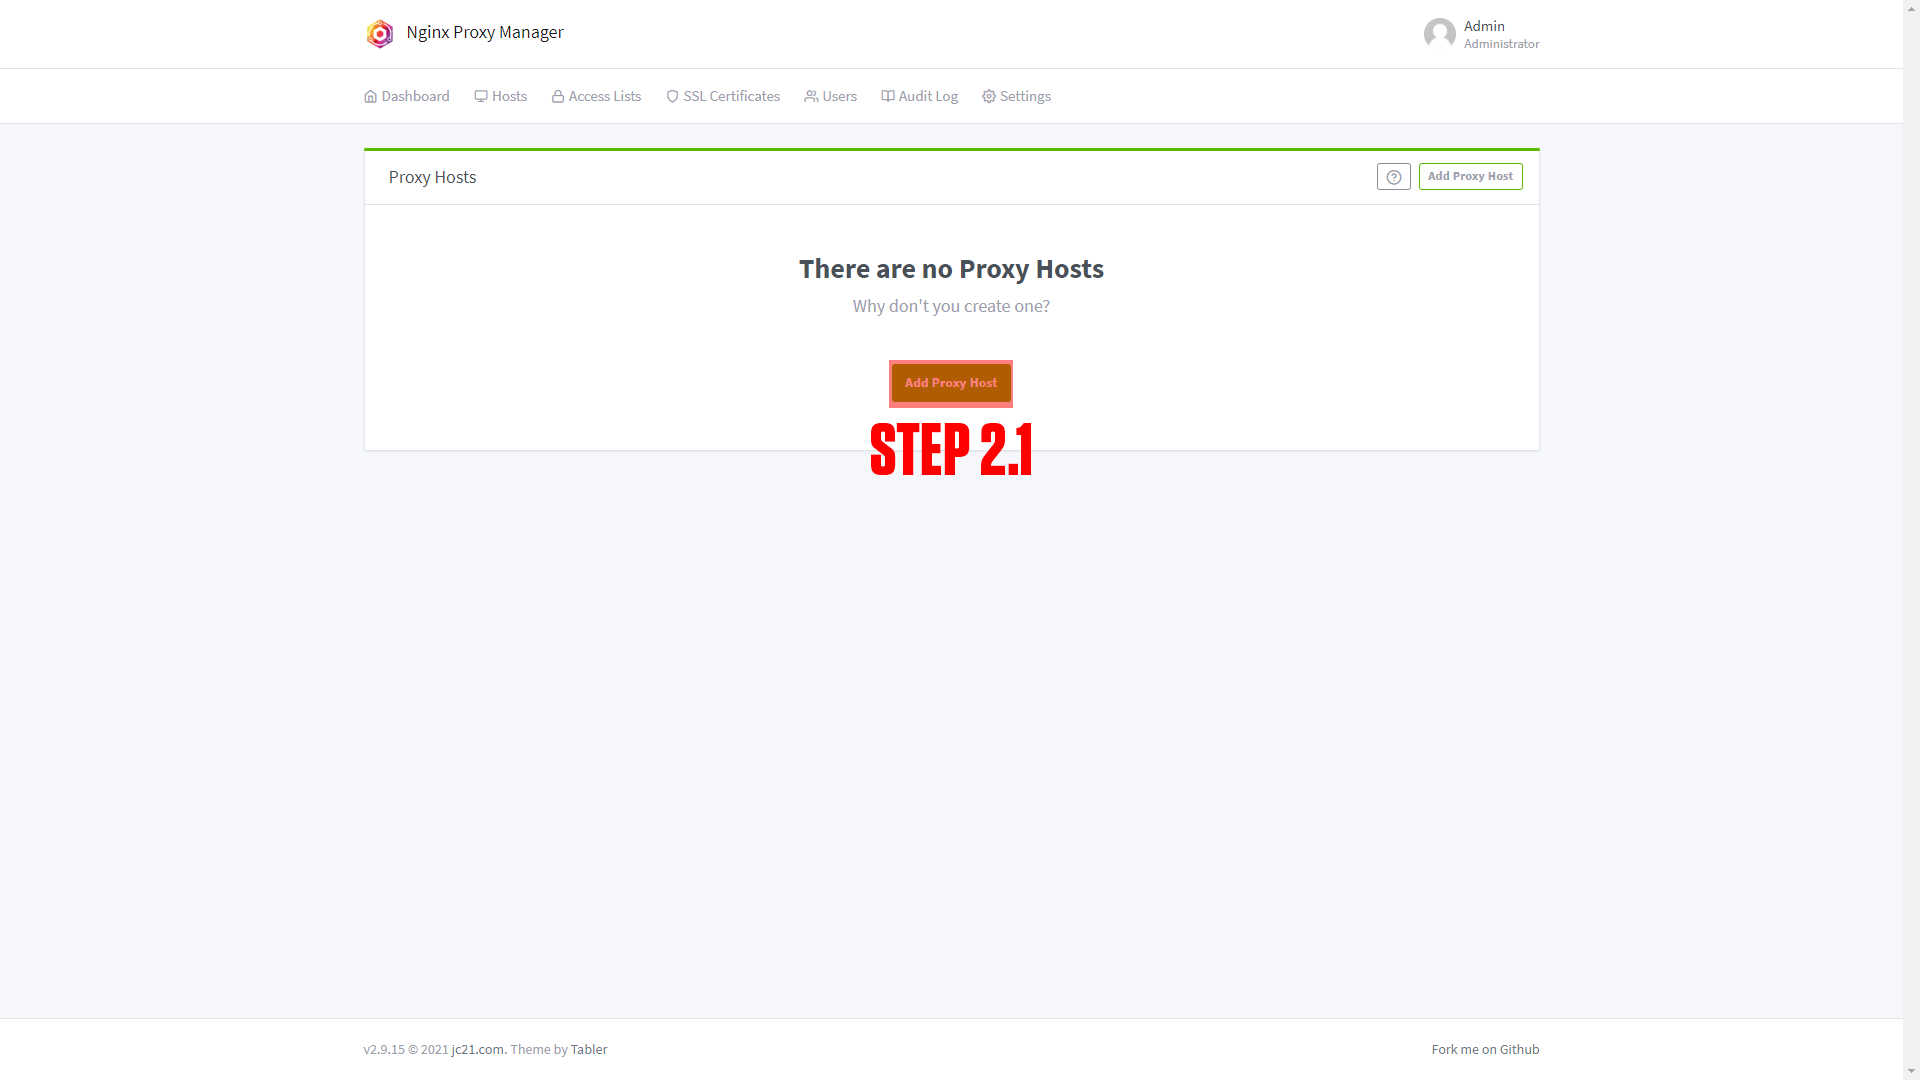
Step 2: Log in to Nginx-Proxy-Manager and create a new proxy host.
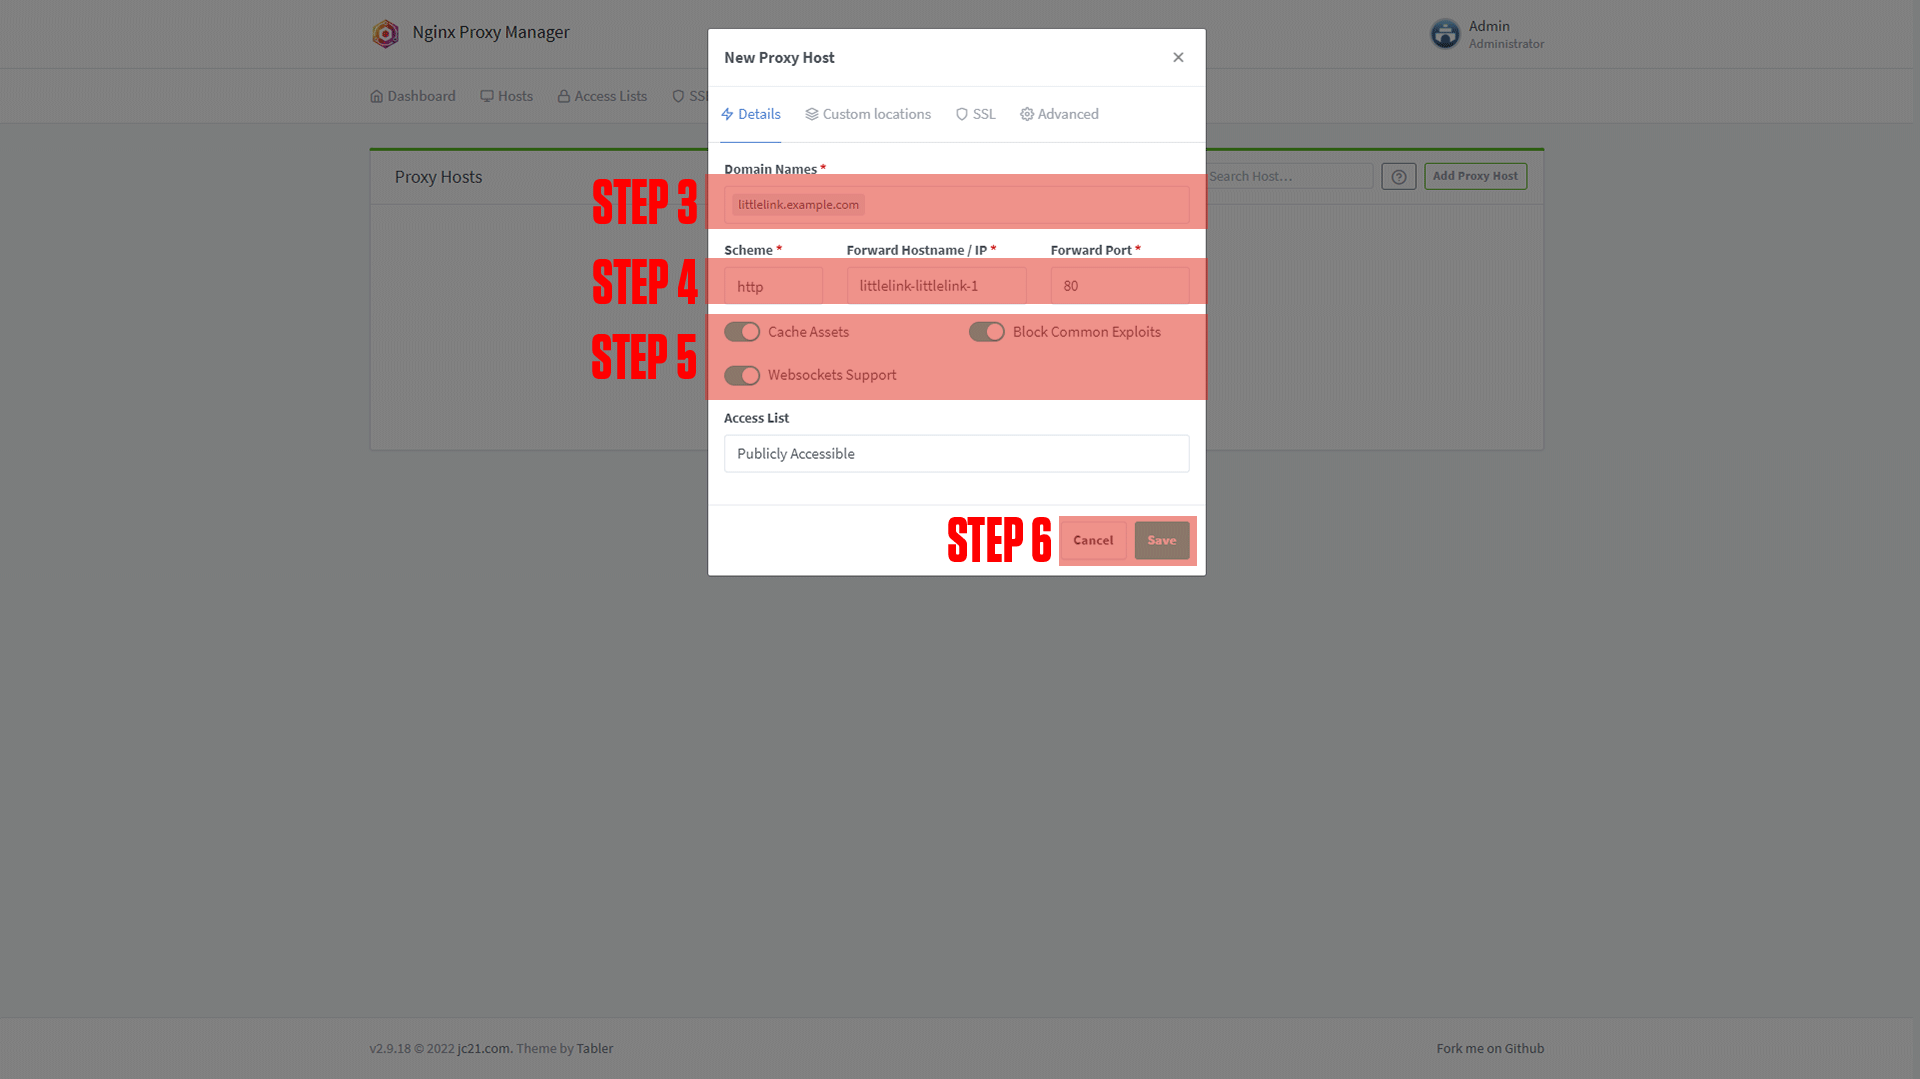
Step 3: Enter your Domain name (Ex. littlelink.example.com)
Step 4: Add the service name to the Forward Hostname / IP at port 80.
Step 5: Enable Cache Assets, Block Common Exploits, and Websockets Support.
Step 6: Click Save.
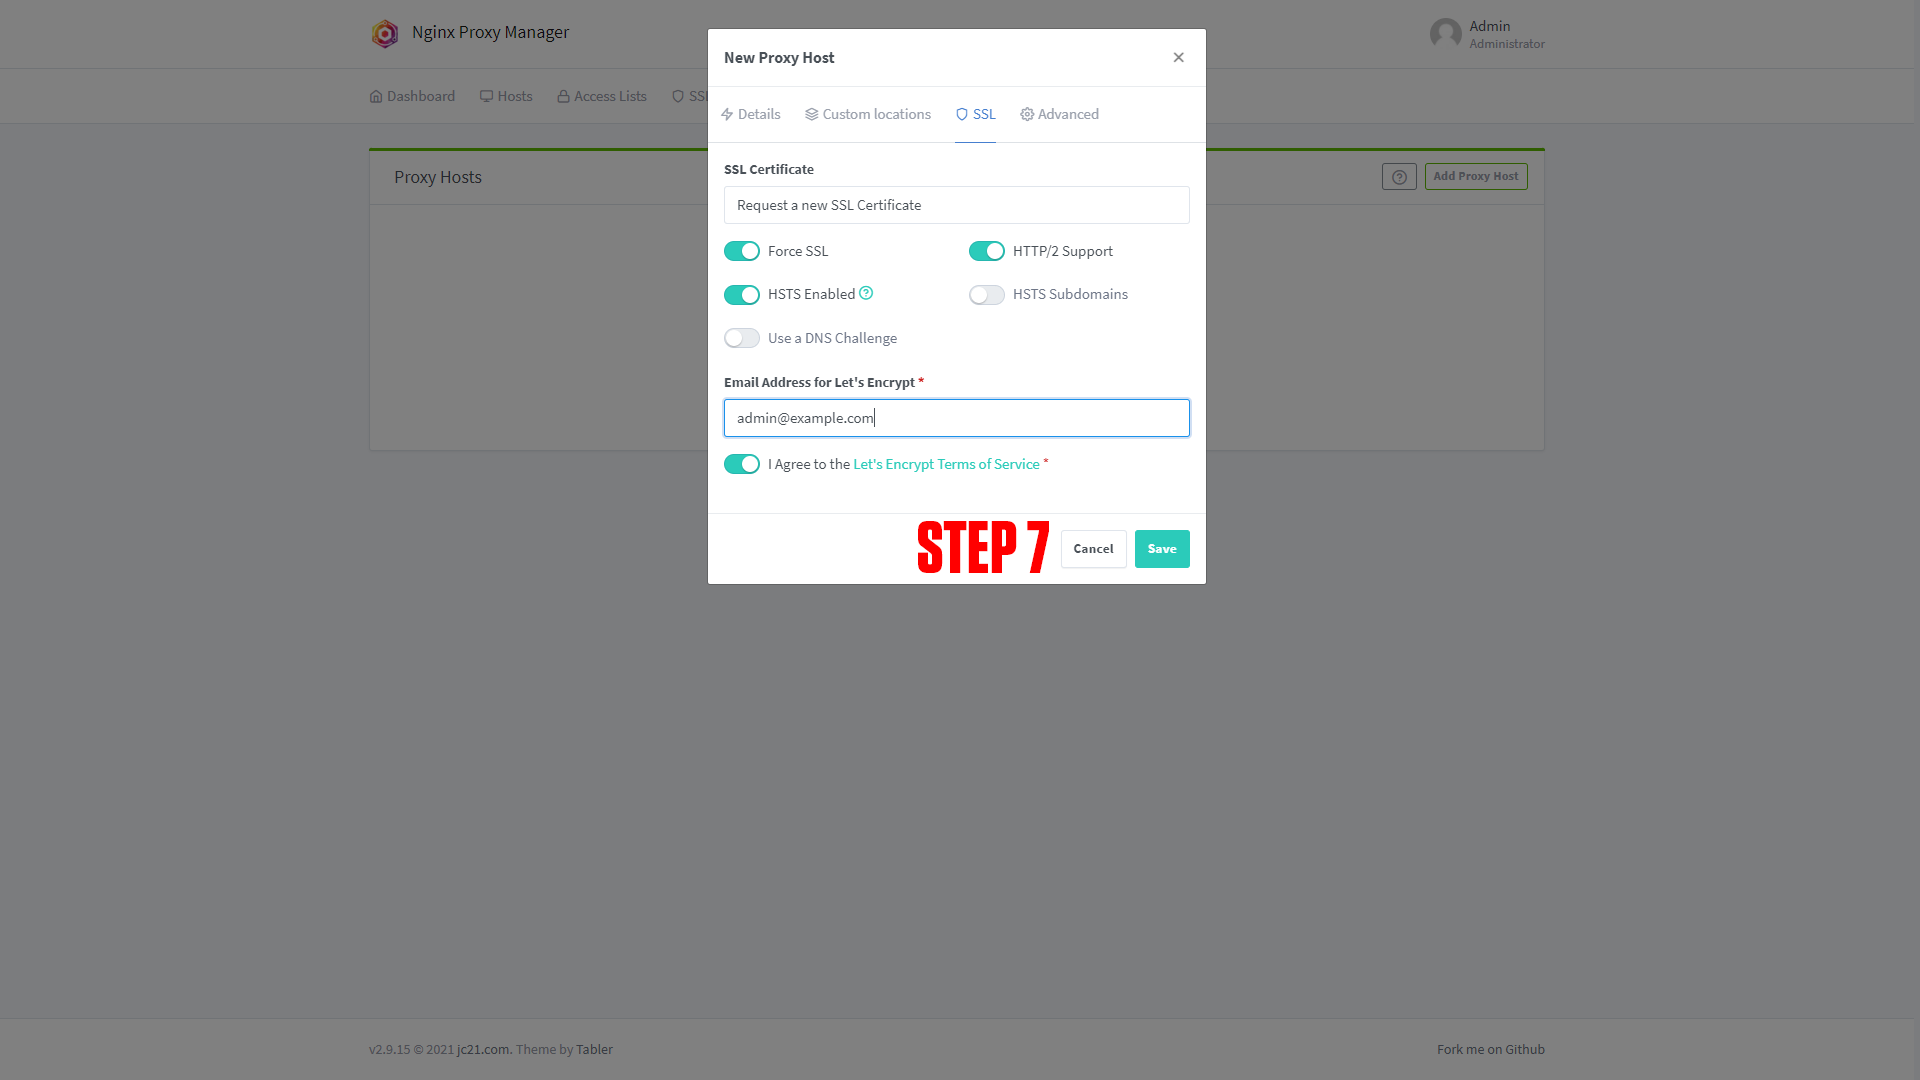
Step 7 (Optional): Enable SSL (we say this is optional, but you should always have an SSL cert if possible).
¶ Screenshots:
|
|
|
|
¶ Configuring LittleLink
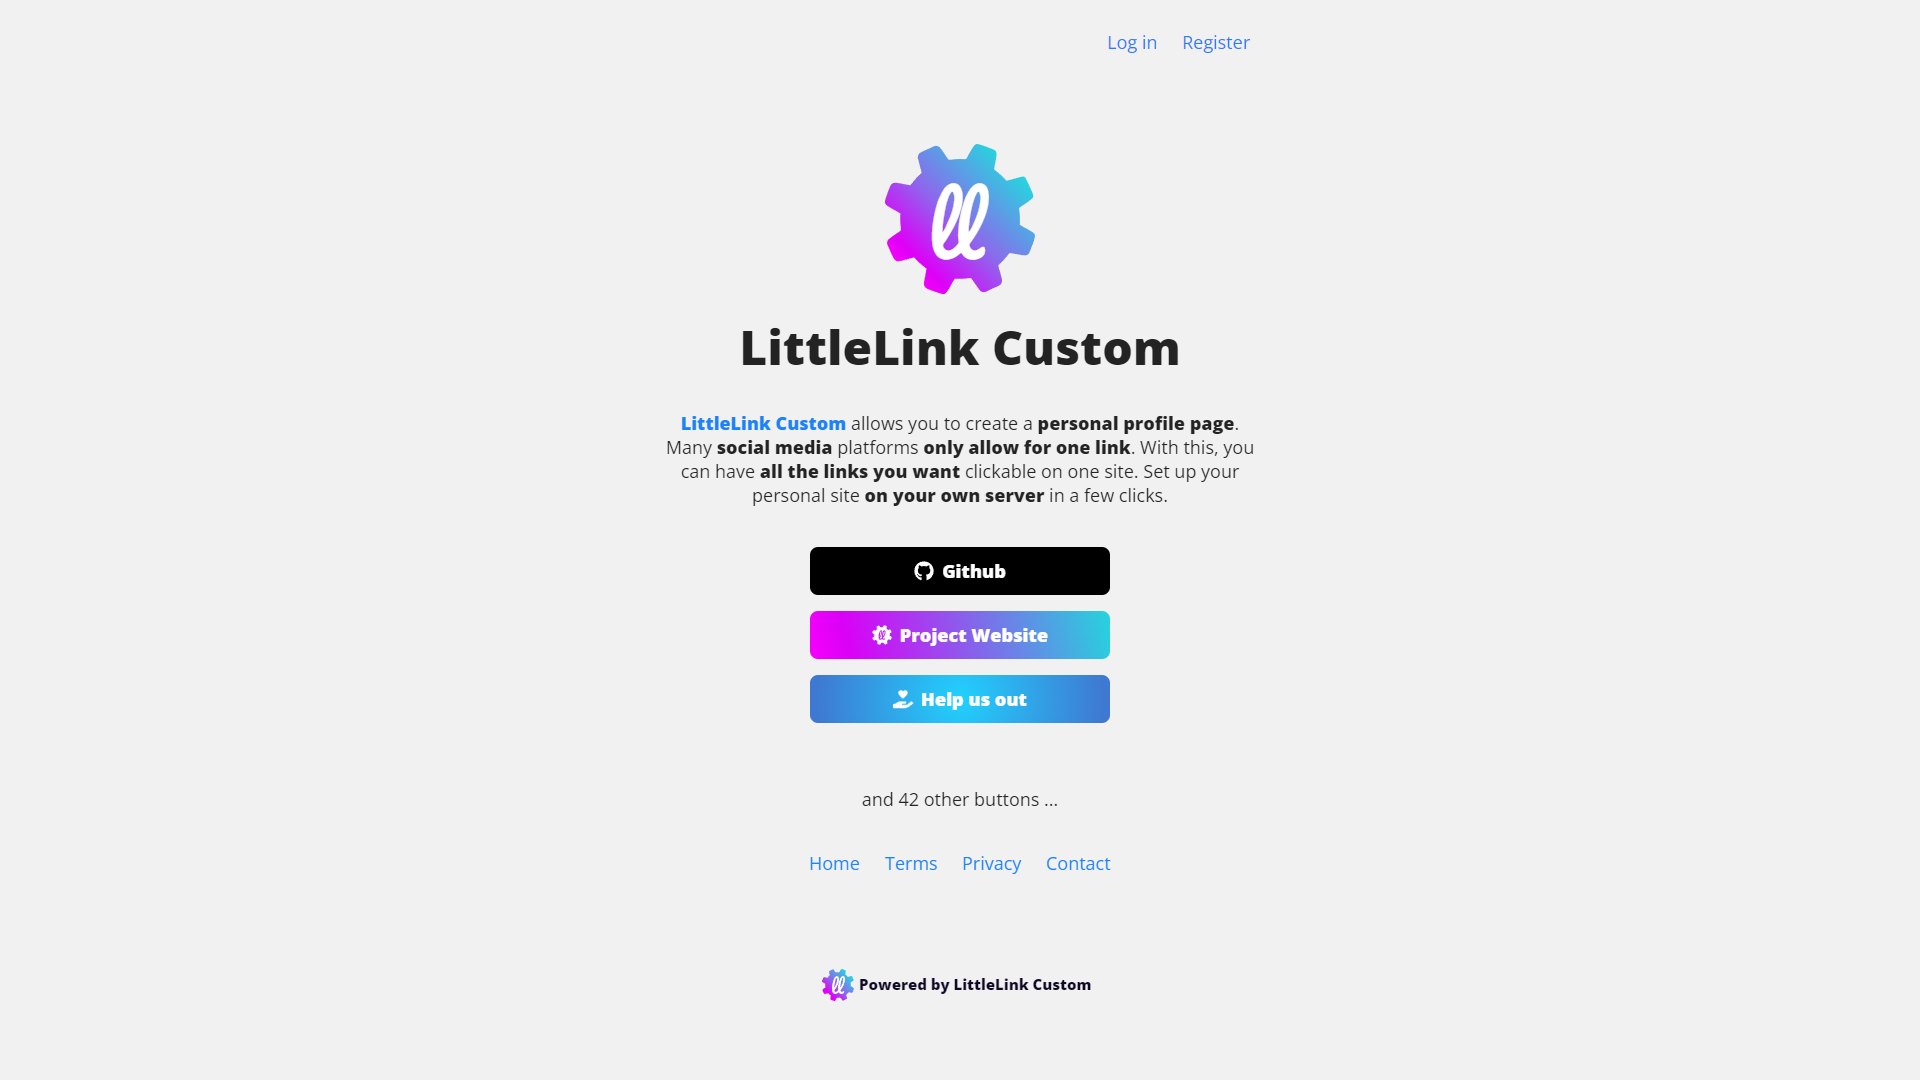
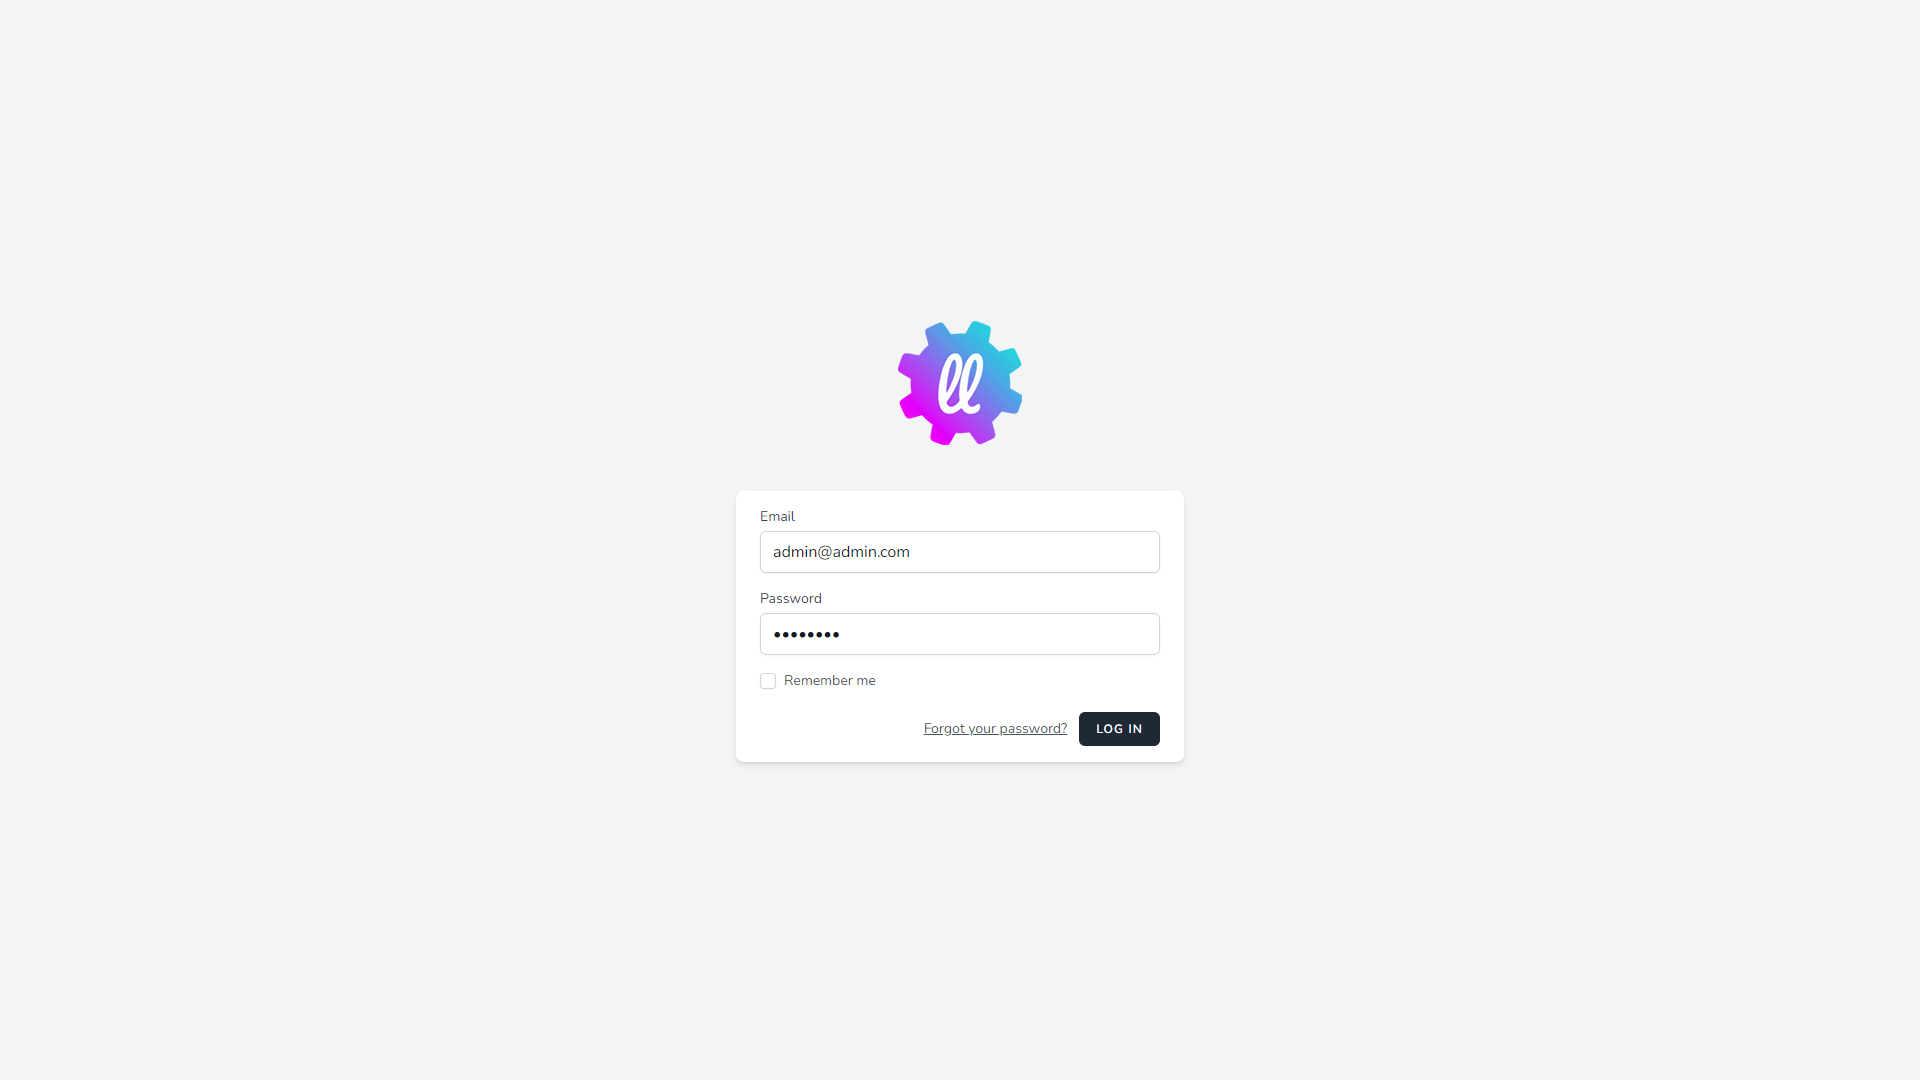
After setting up your domain name it's time to finish configuring the app. Go to the URL you chose for your application. You should arrive at a screen like this!
|
|
|
(If you do not arrive at a screen like this then something is wrong! Our premium members can open a support ticket Here!)
To access the admin panel, click login at the top right of the page. The default login credentials are below:
user: admin@admin.com
pass: 12345678
¶ Conclusion
This is the basic setup for LittleLink, as mentioned at the beginning we have a more in-depth course available at TrueFreedomTech.com.